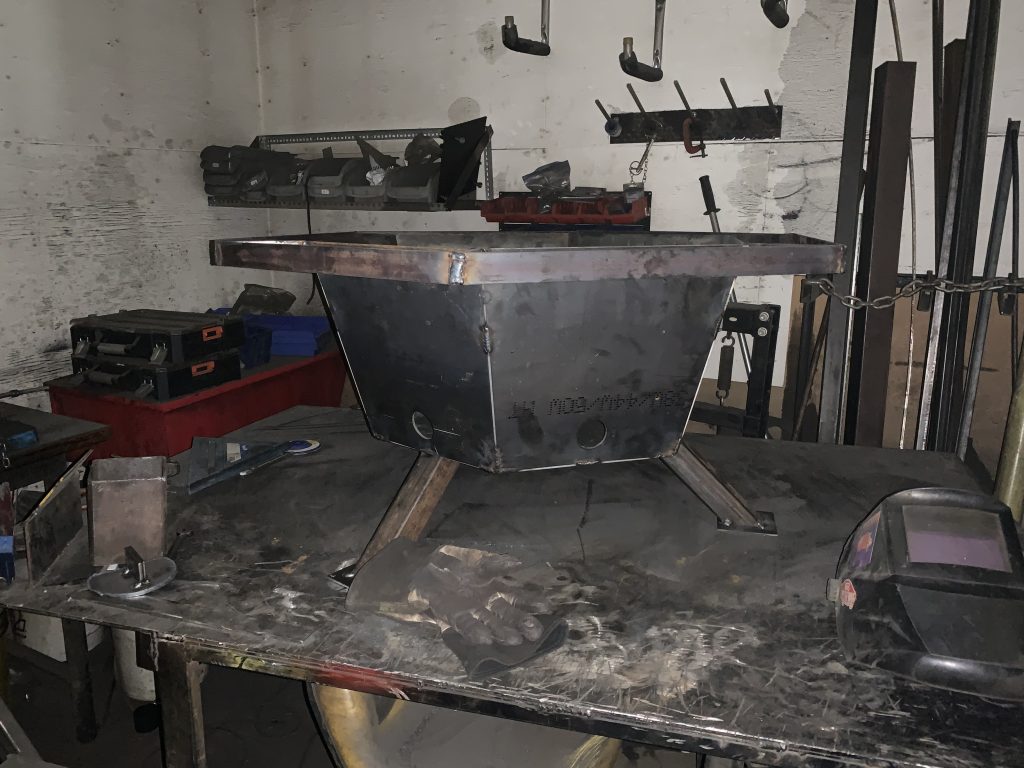
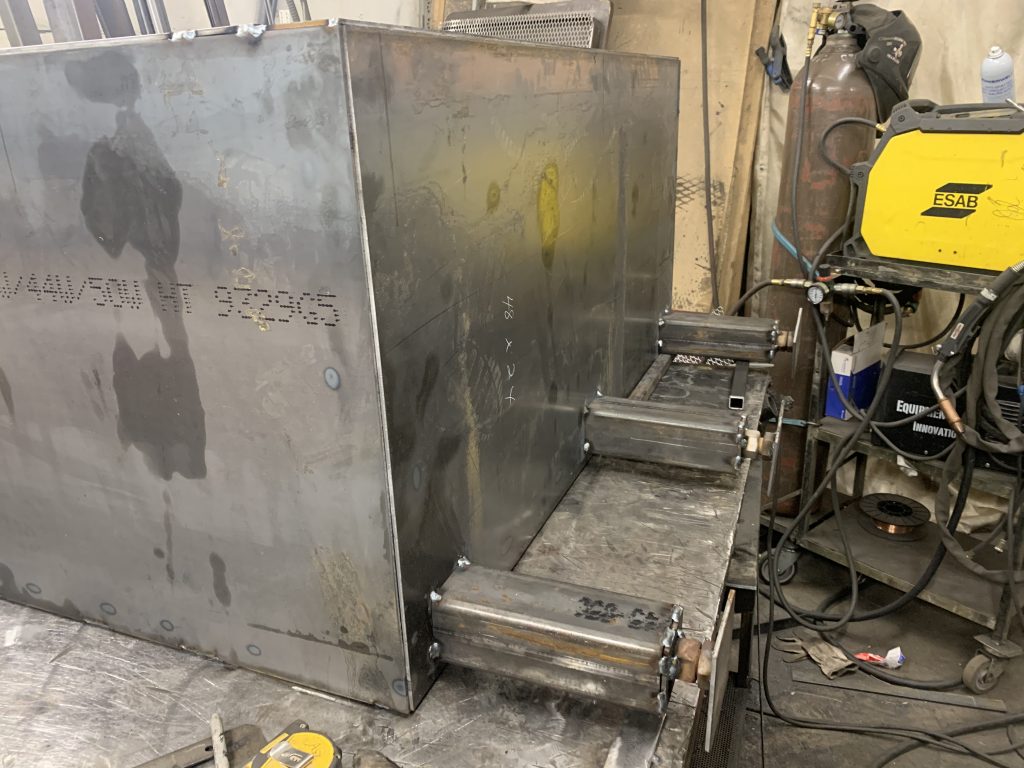
So today I was to start the Sheridan Build! What a failure today was, woke up at 3 am for no reason at all. Missed a meeting at my lawyer’s. Arrived at the shop only to find a Standard Pit needed to be built for this afternoon. Shop was HOT as BALLS! But I did get the Standard Pit done and a little of the Sheridan Build started.
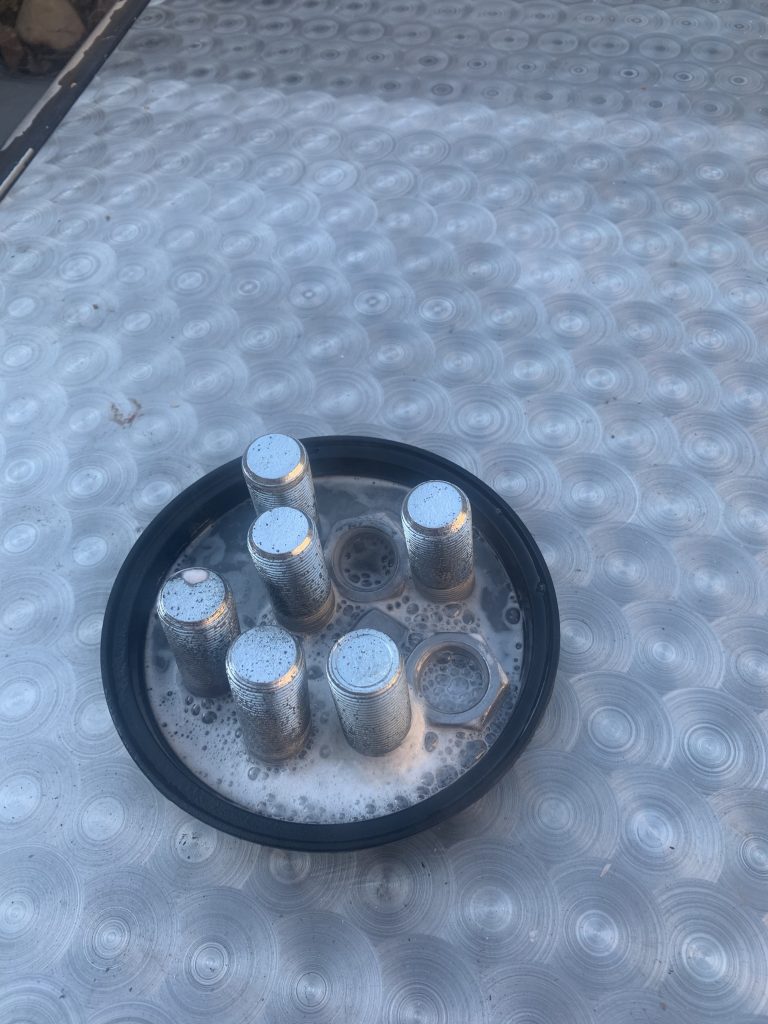
Zinc coated 1 1/4″ nuts and bolts used for leveling this massive Fire Pit 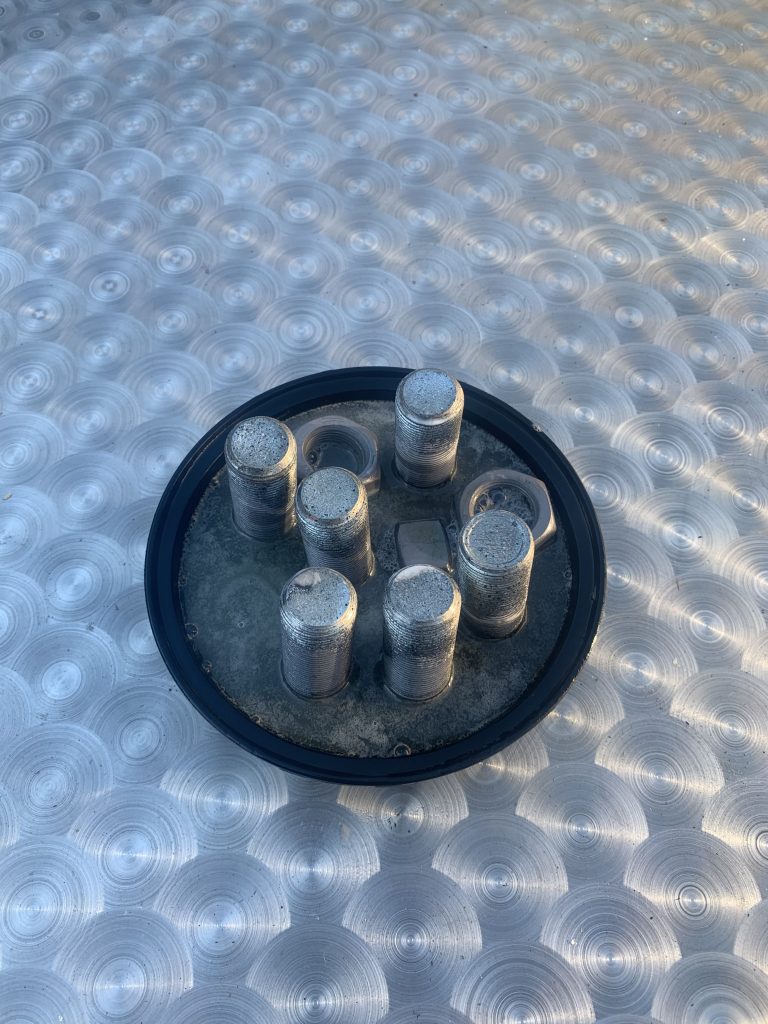
Need to soak the zinc coated hardware in Hydrochloride Acid to remove the coating
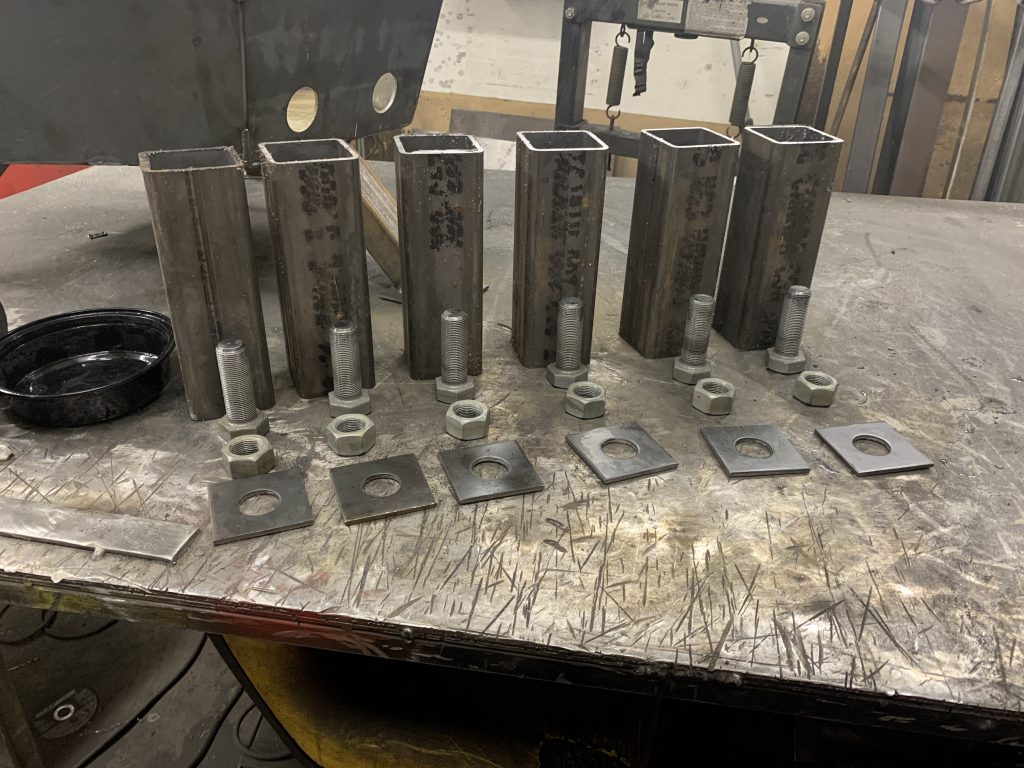
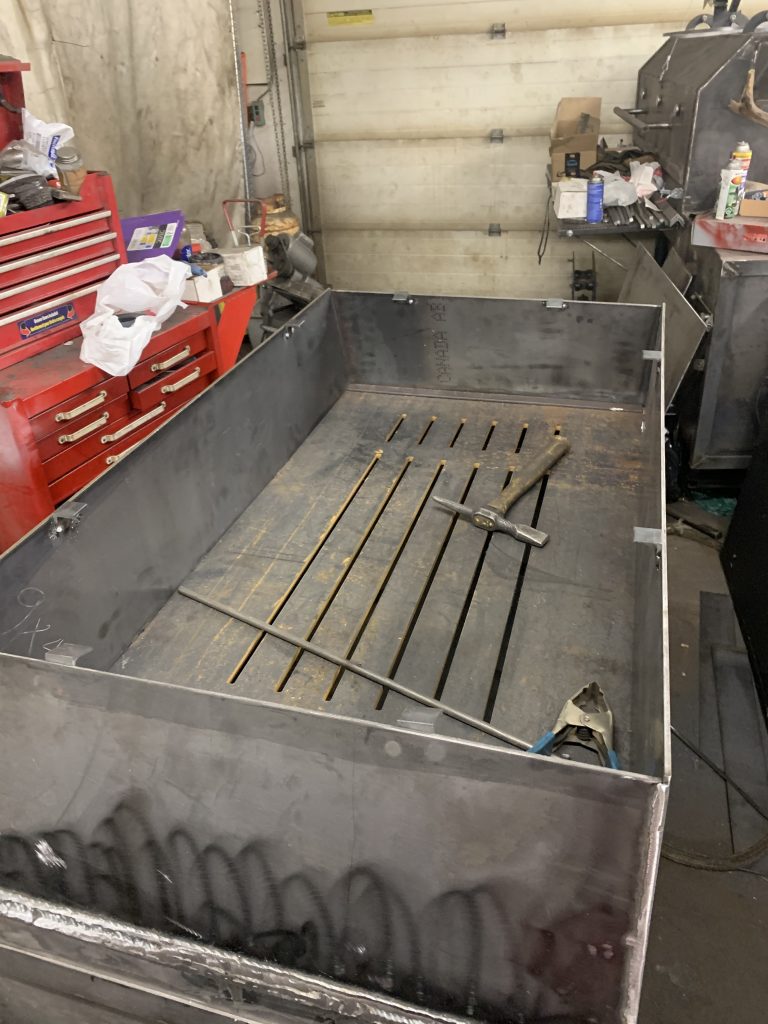
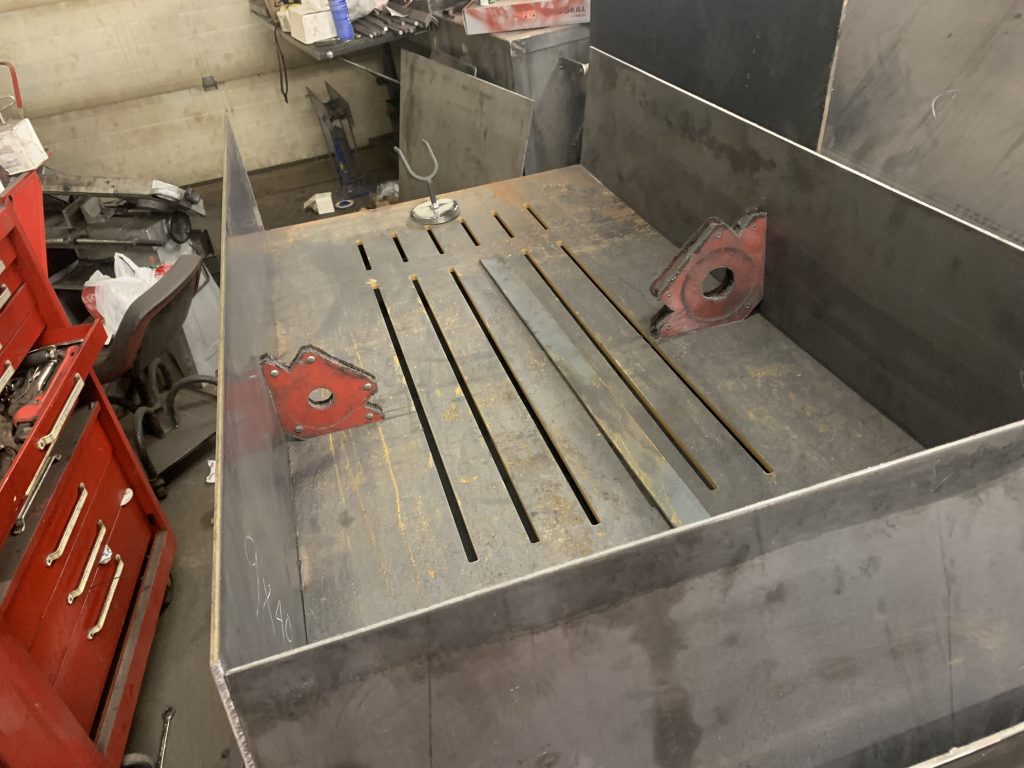
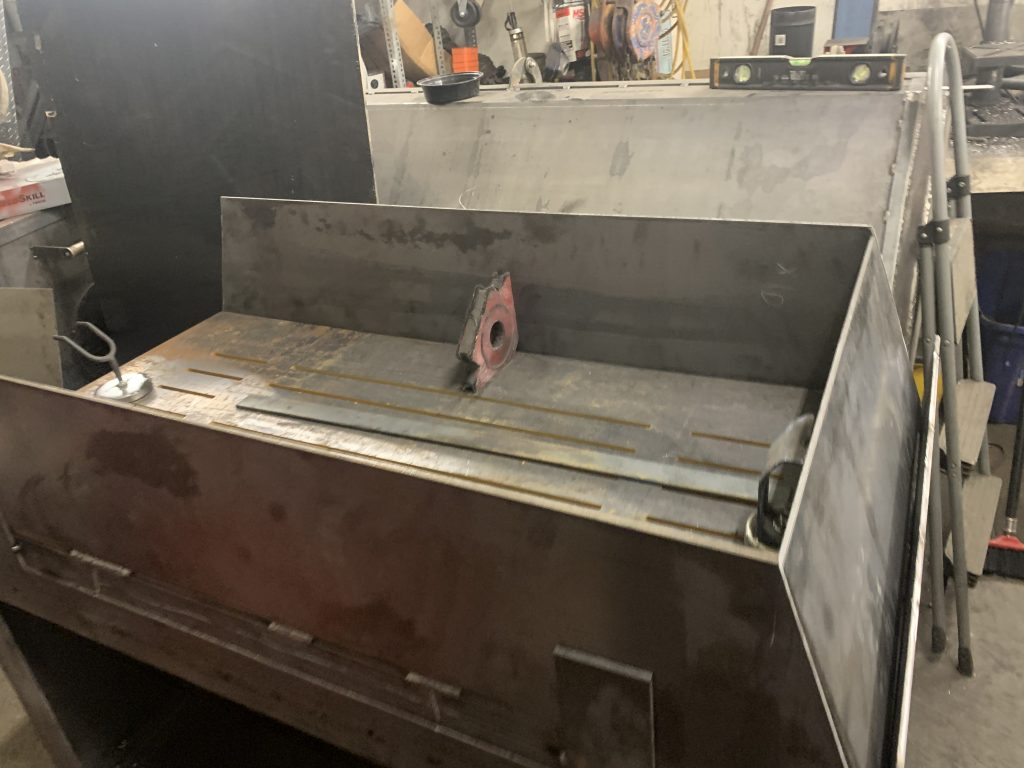
6 Soldiers! Well Legs for the pit 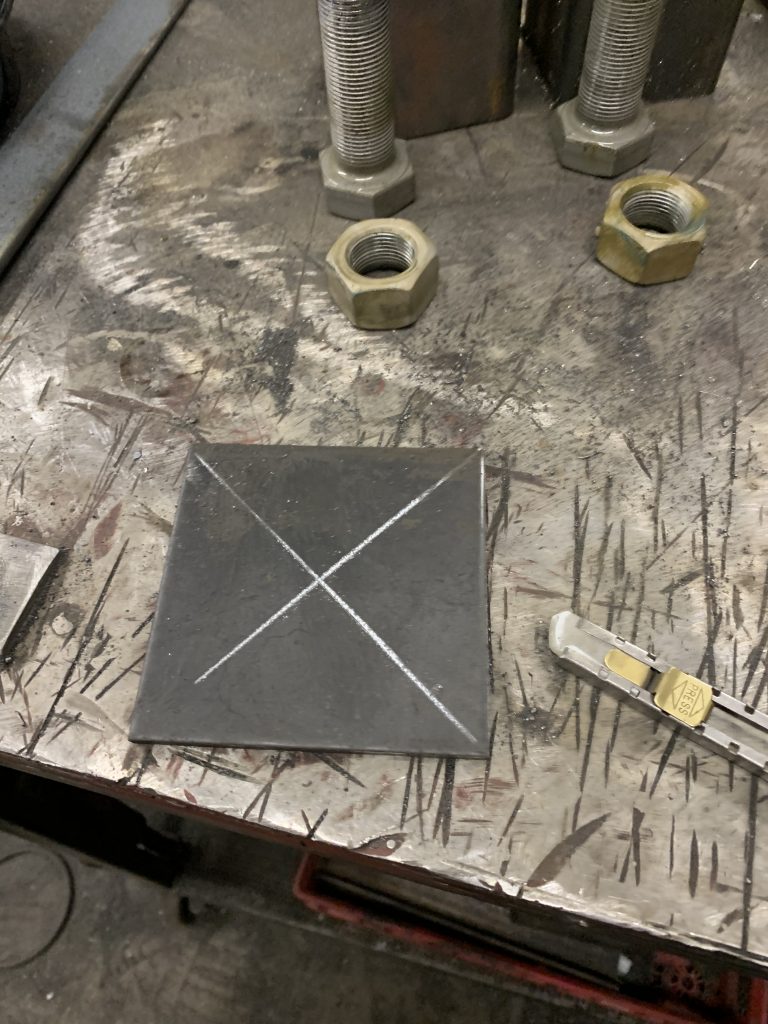
Centering the plates 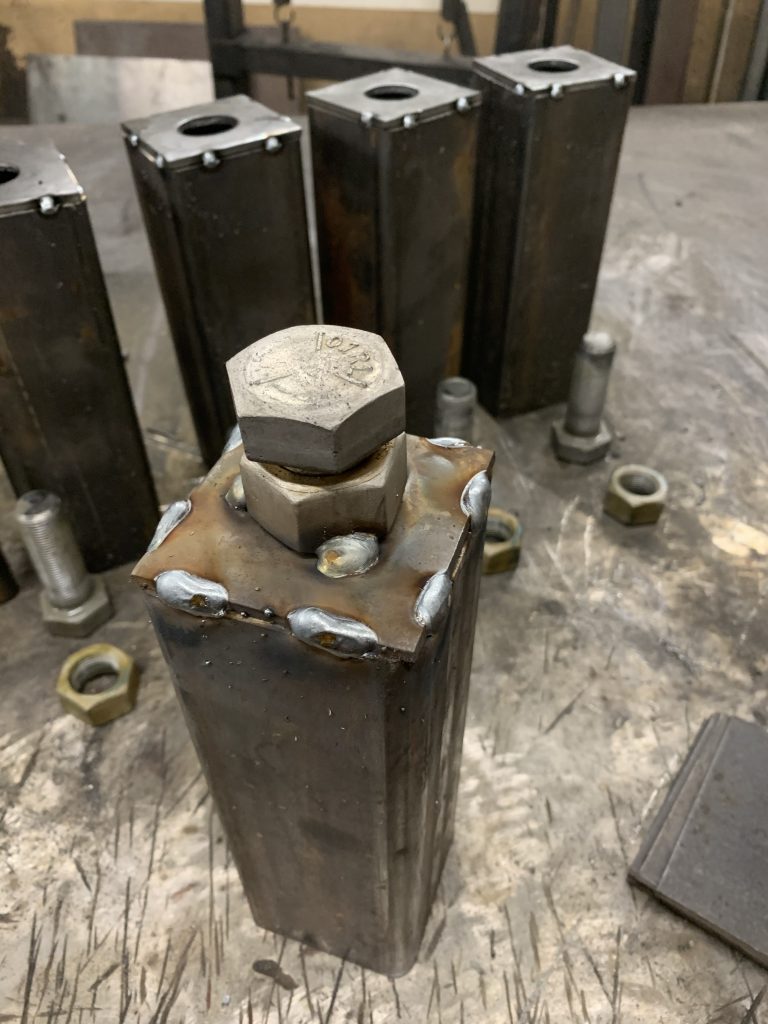
Tacking up the adjustable legs – Zinc removed 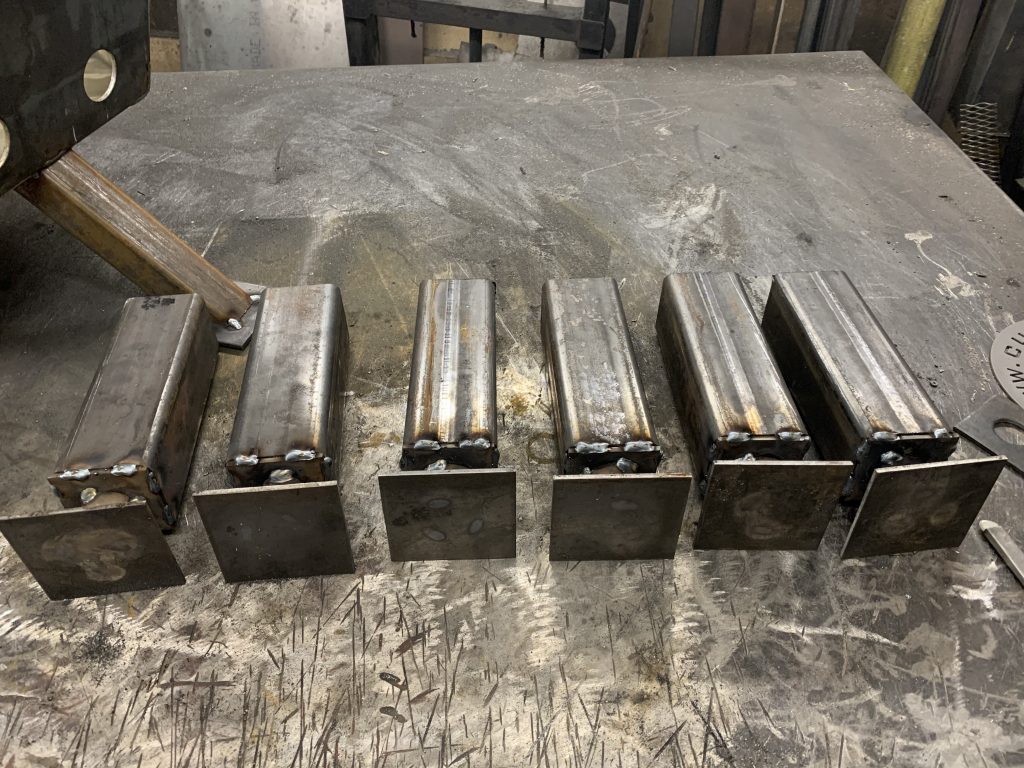
Prepping the legs 
Money Shot!
Day Two – Again!
Hot as Balls
in the Shop!!
Ok, So I don’t know what day it is….. Ya Ya it’s the 28th
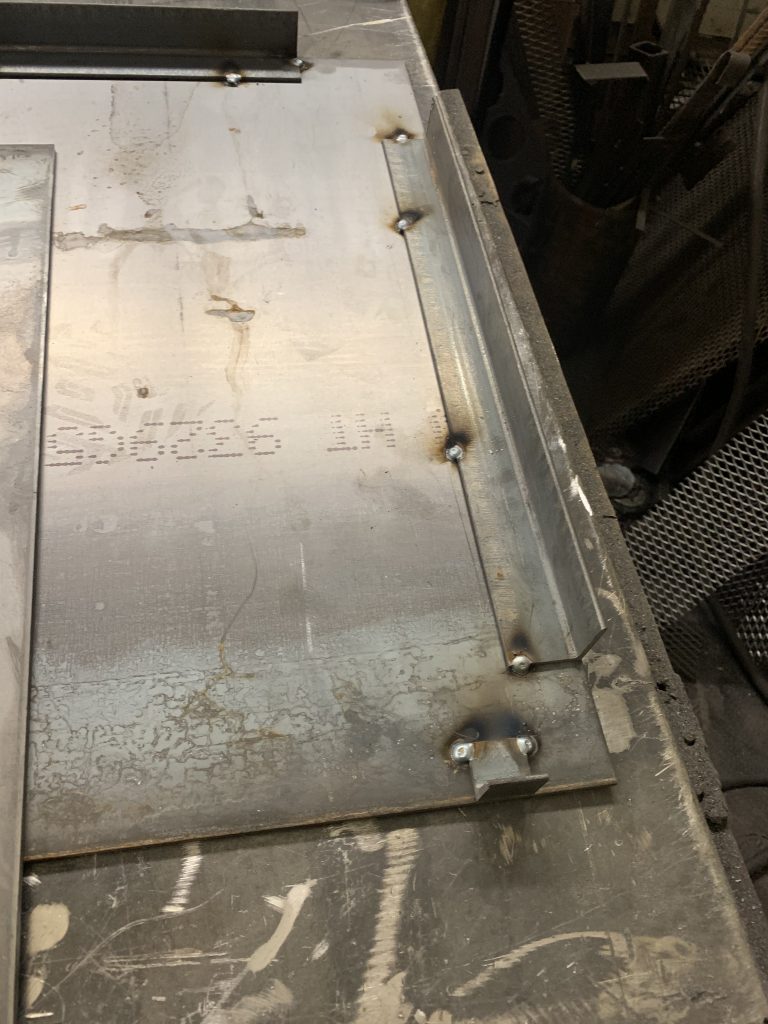
Found a pile of angle iron 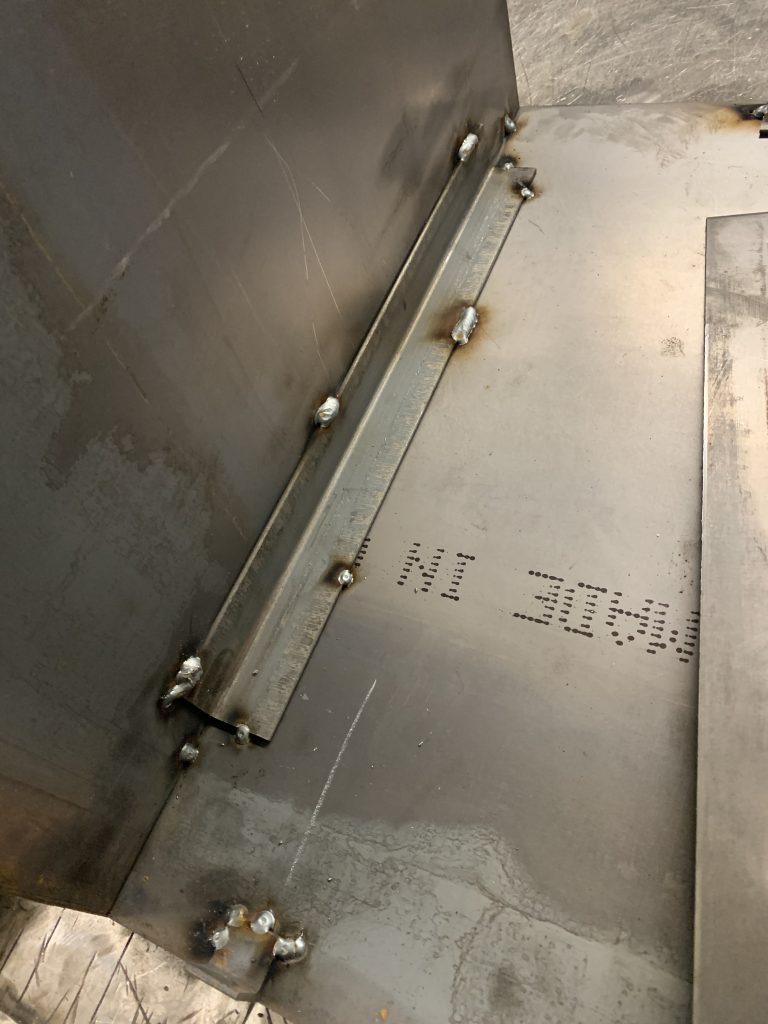
So I use it to hold the material at a 90 
By tacking it to the plate 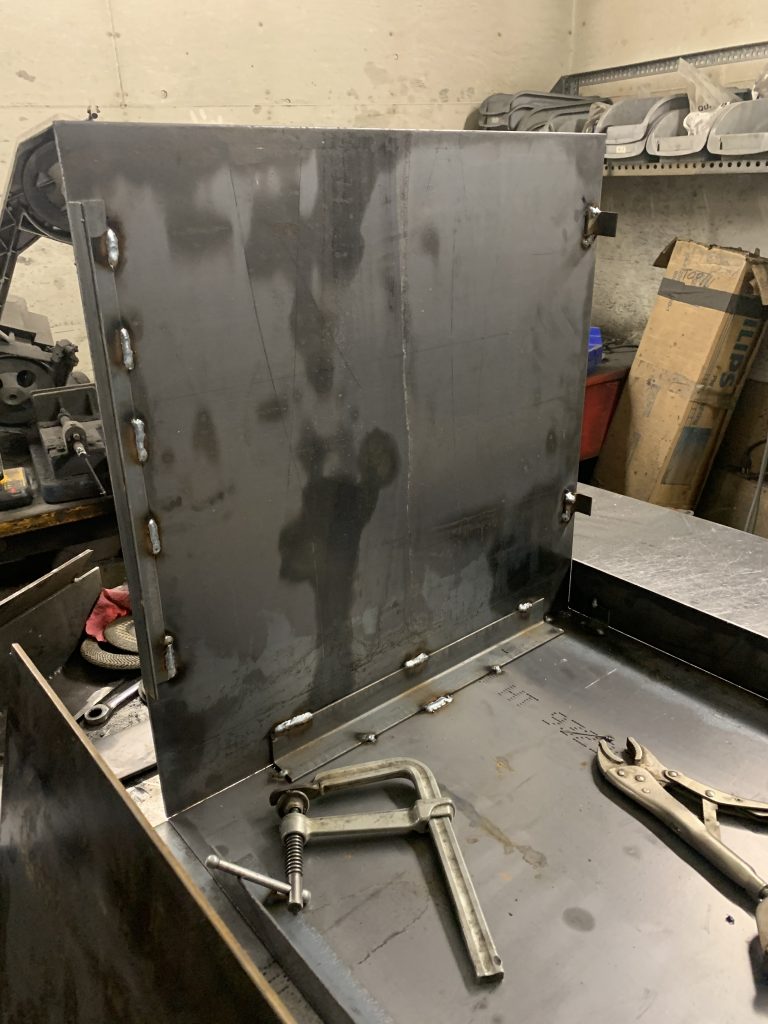
I still stitch weld the outside as well as full weld some of the seams but this keeps all the corners tight and square.
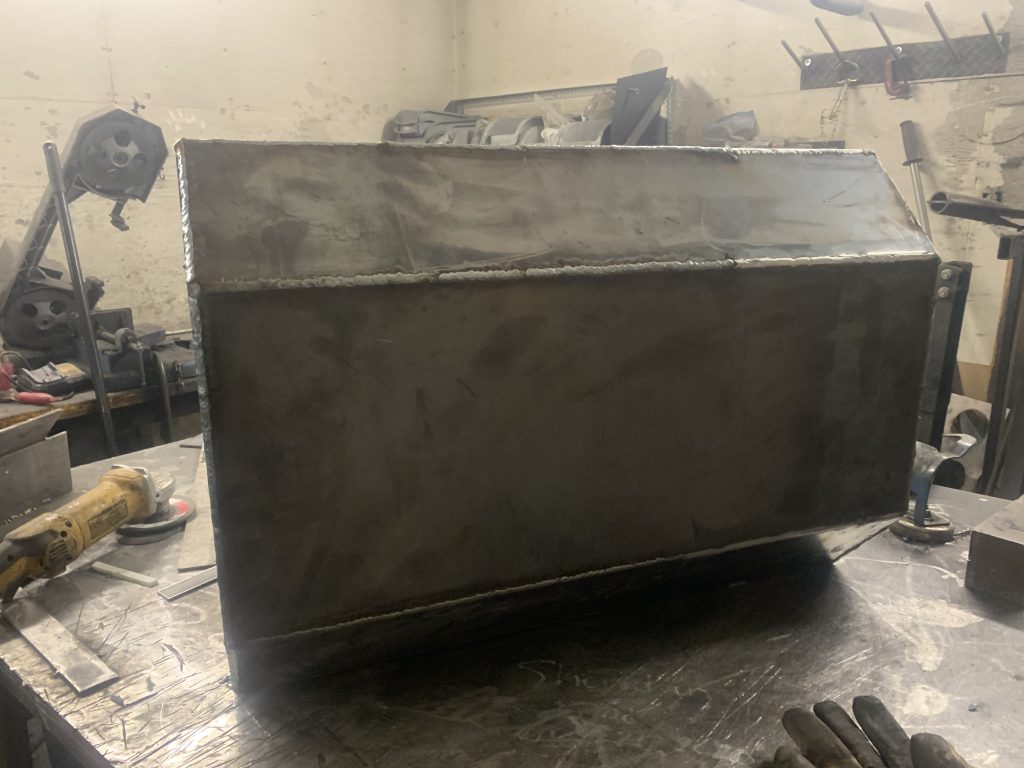
And I forgot to take pictures of the sides coming together 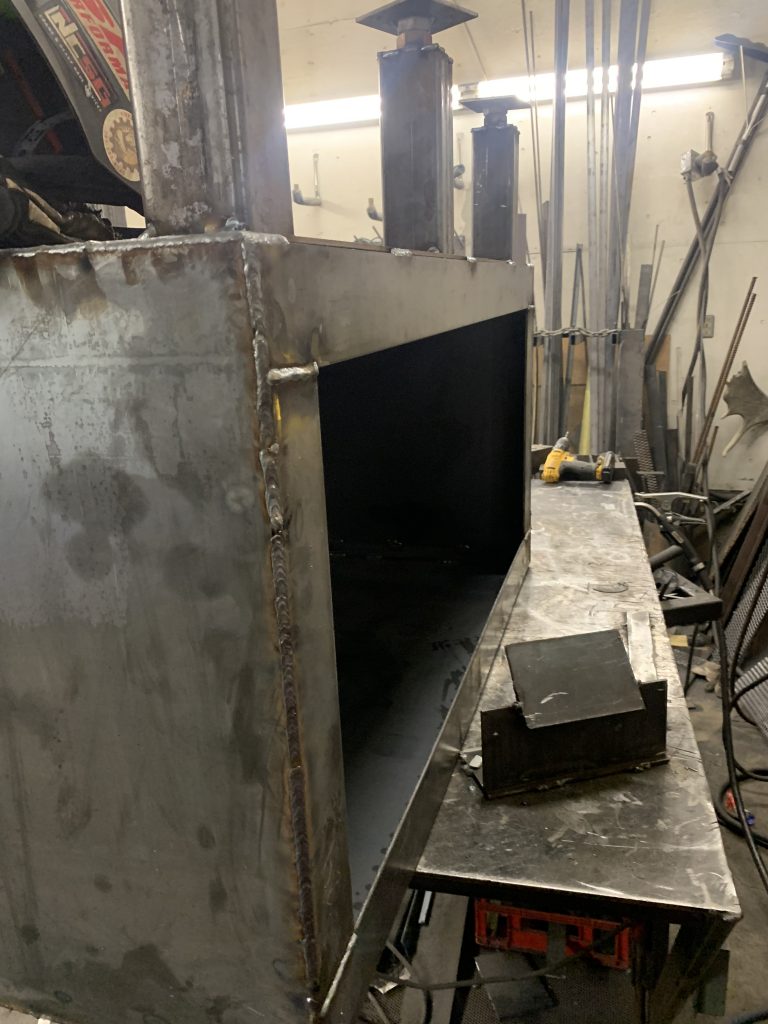
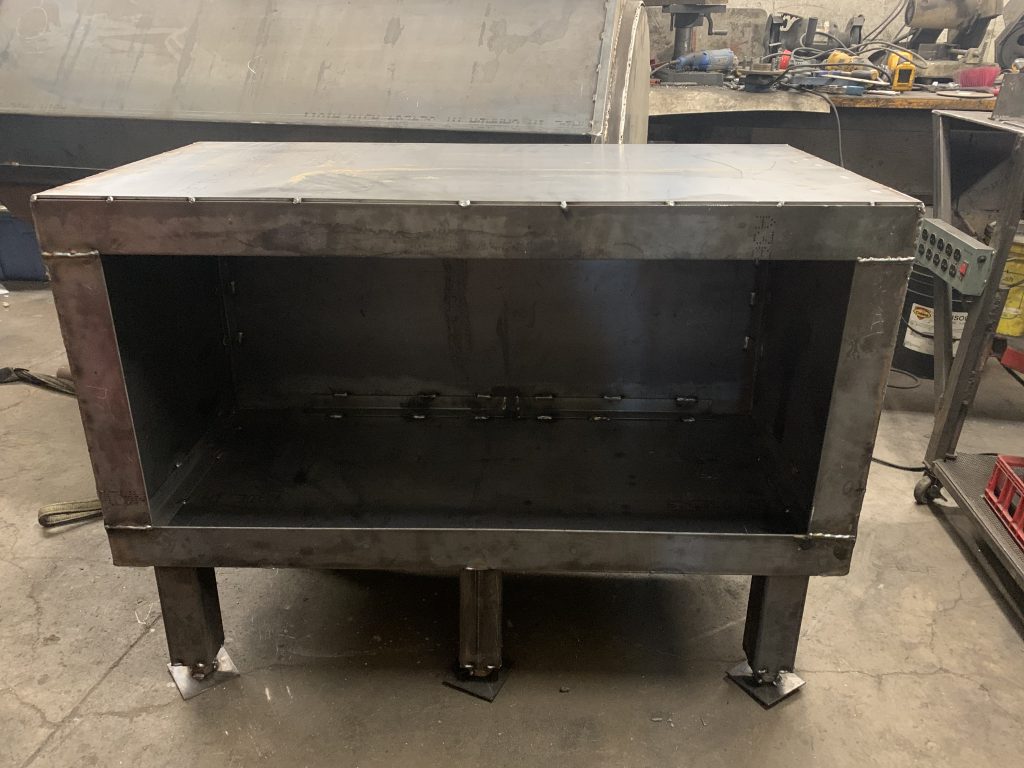
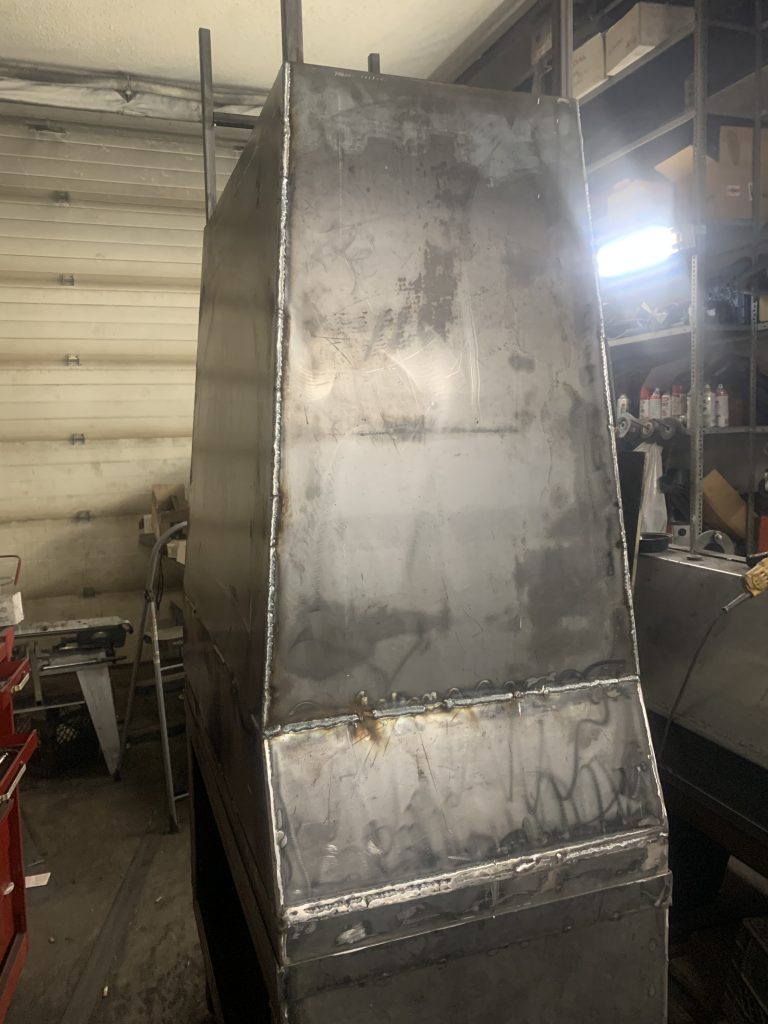
Front of the Firewood Storage and don’t shit yourself, I’ll grind it out! 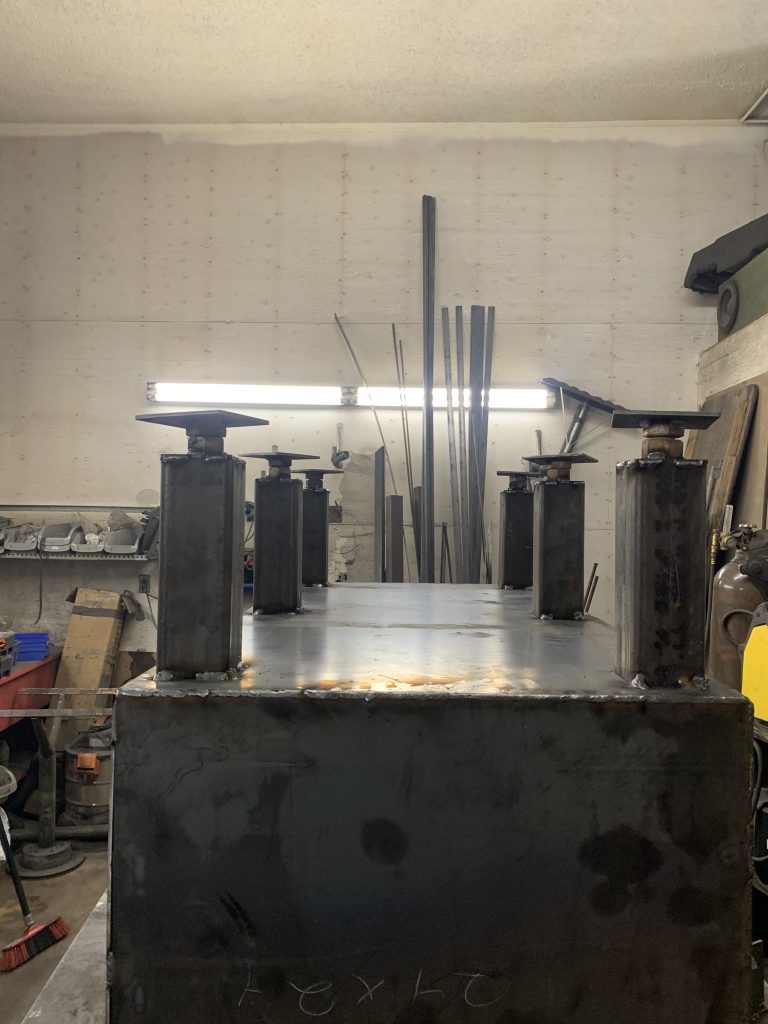
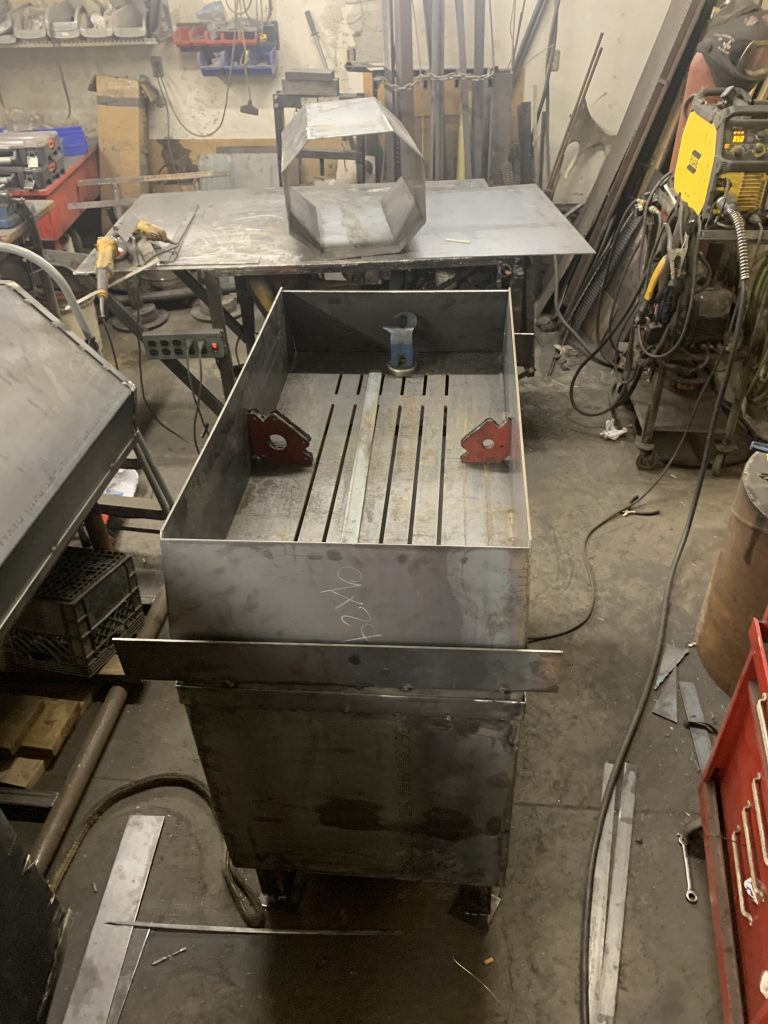
Legs with adjuster’s 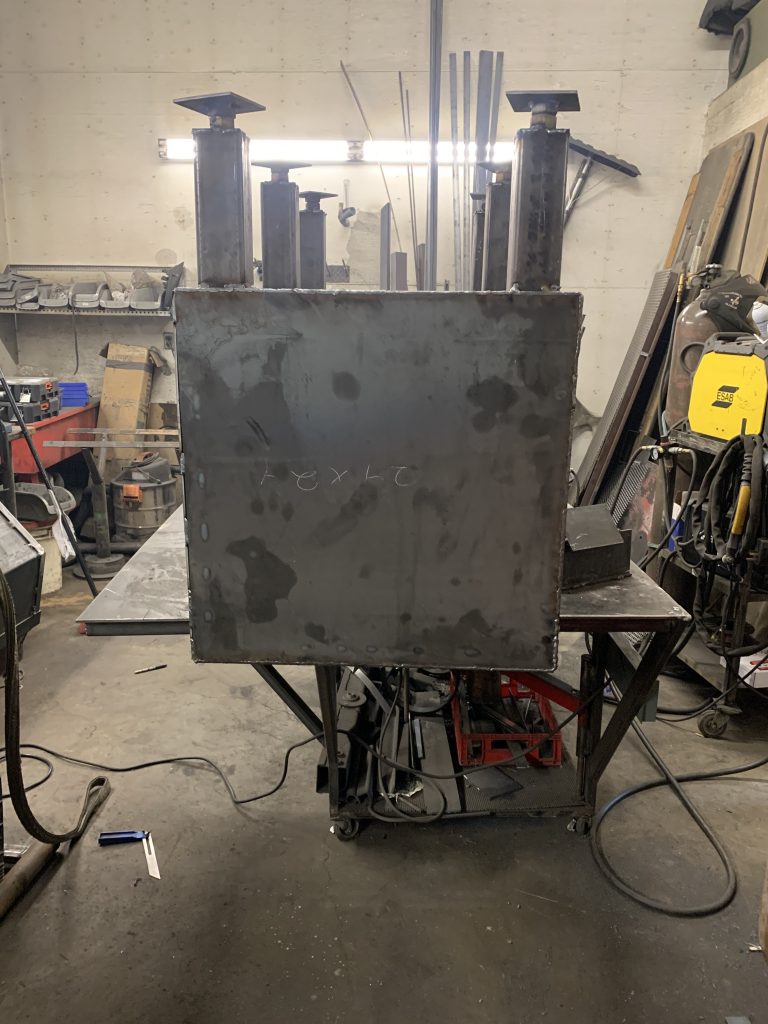
How in the hell down I get this down off the table? Paul Kane High School Math tells me the weight of the Box is 286 lbs. Notice my welding table wheels are now crushed!
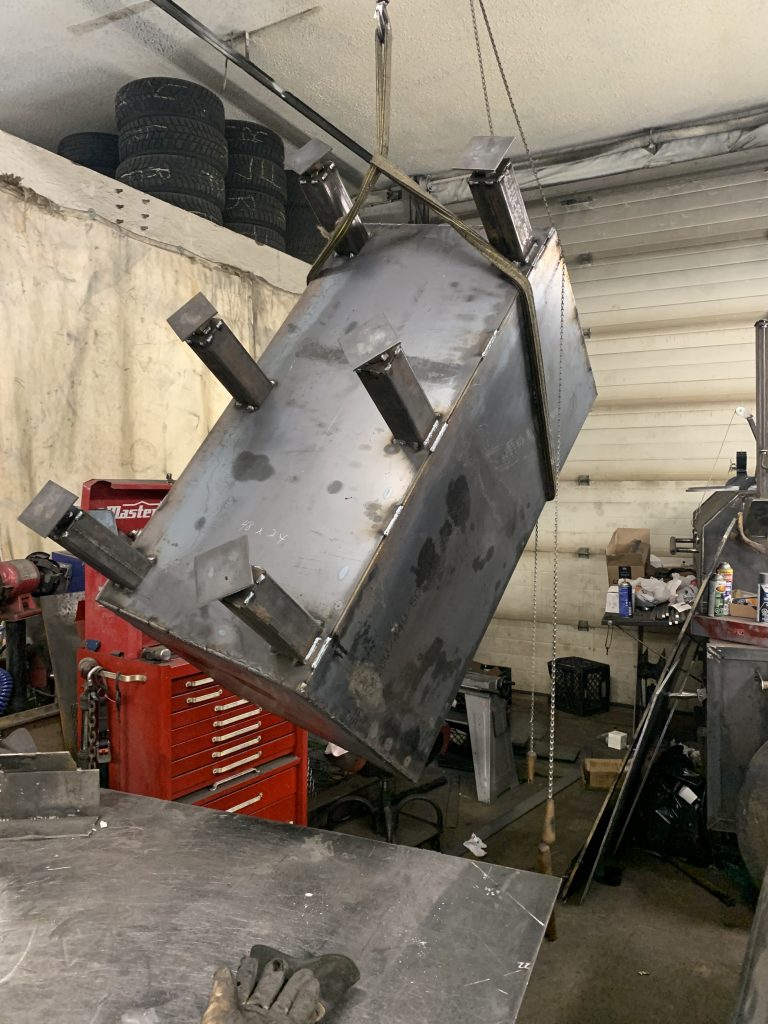
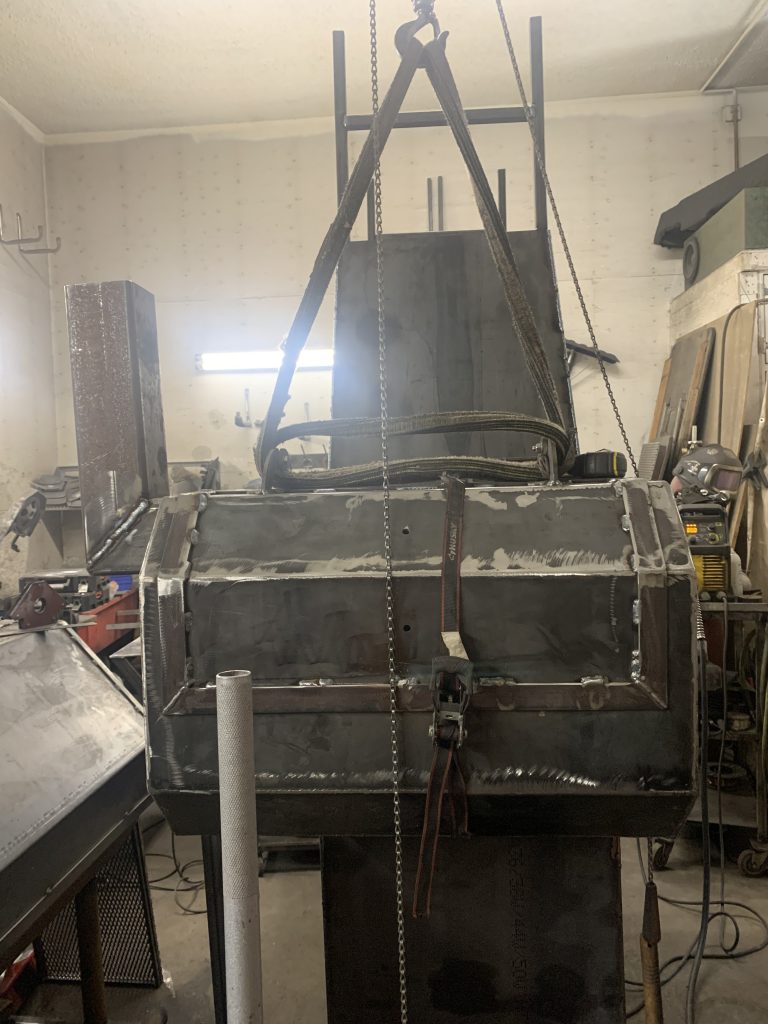
On solid ground 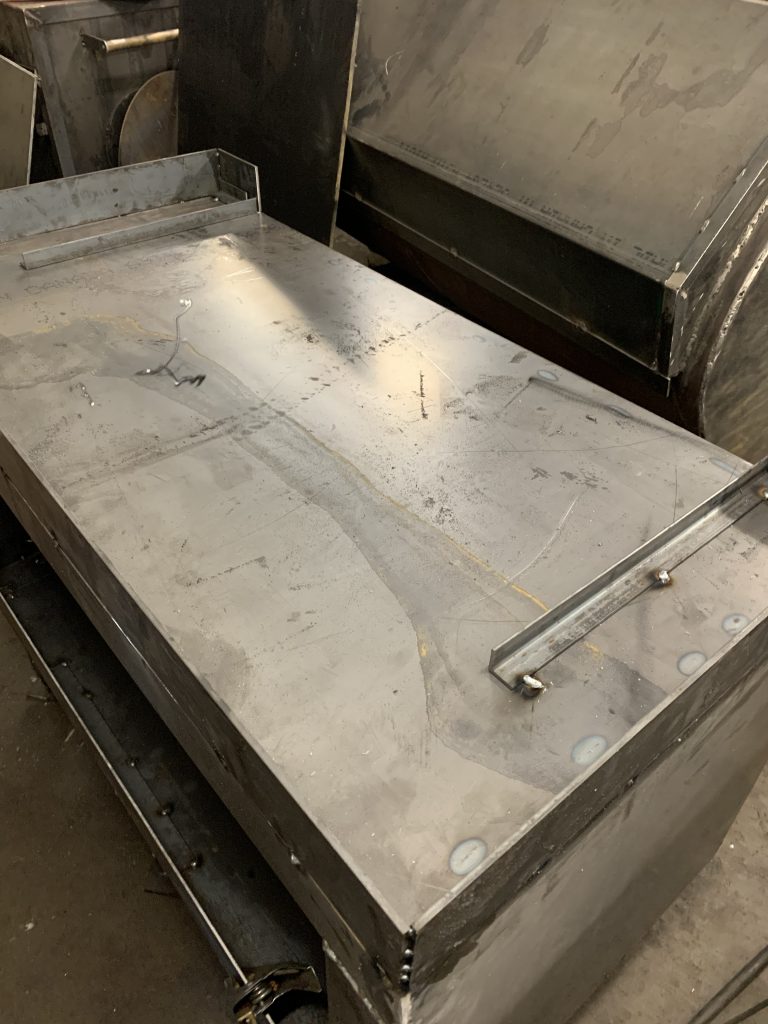
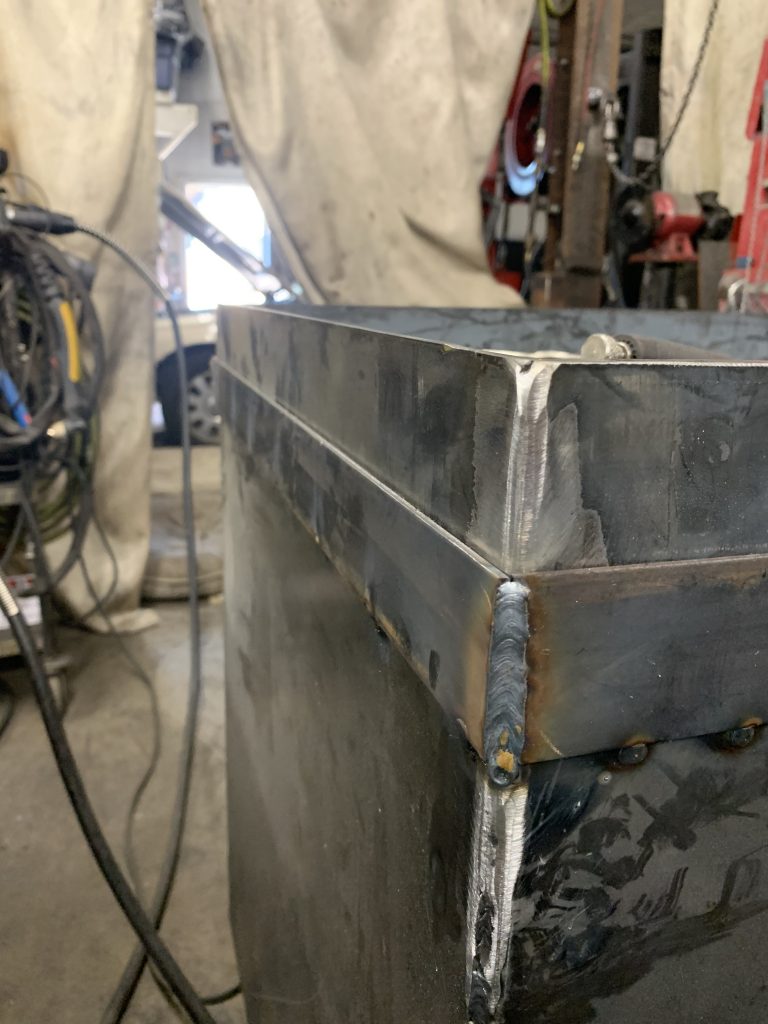
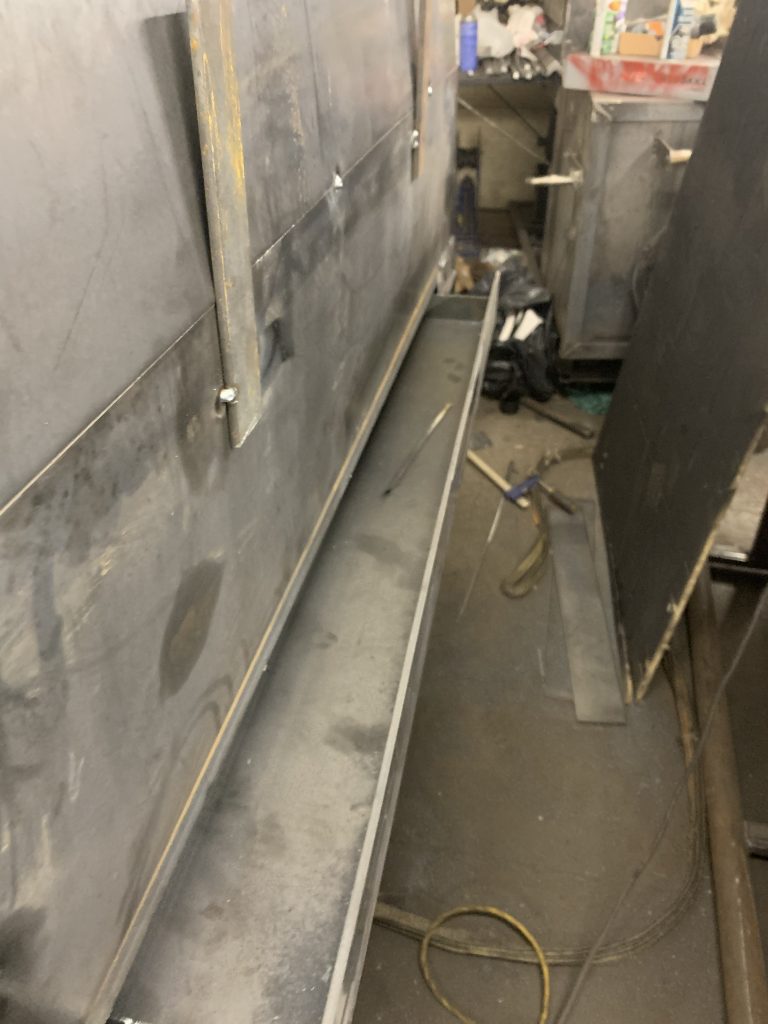
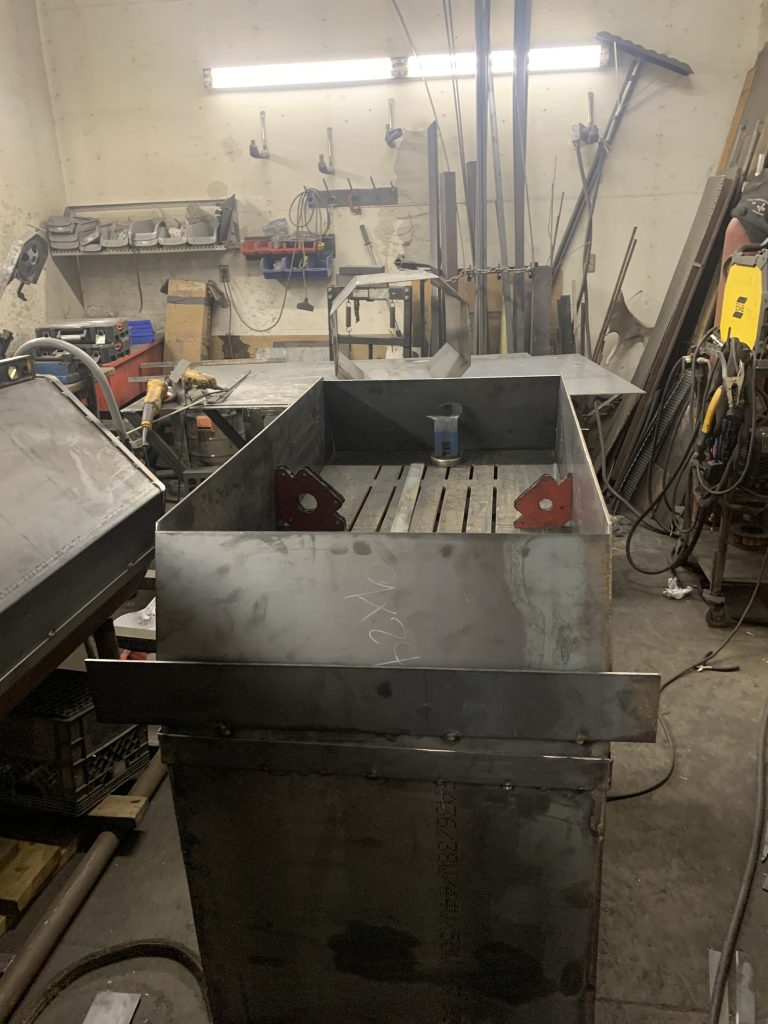
Ash Bin area. The angle iron welded in place will keep the ash bin from sliding side to side 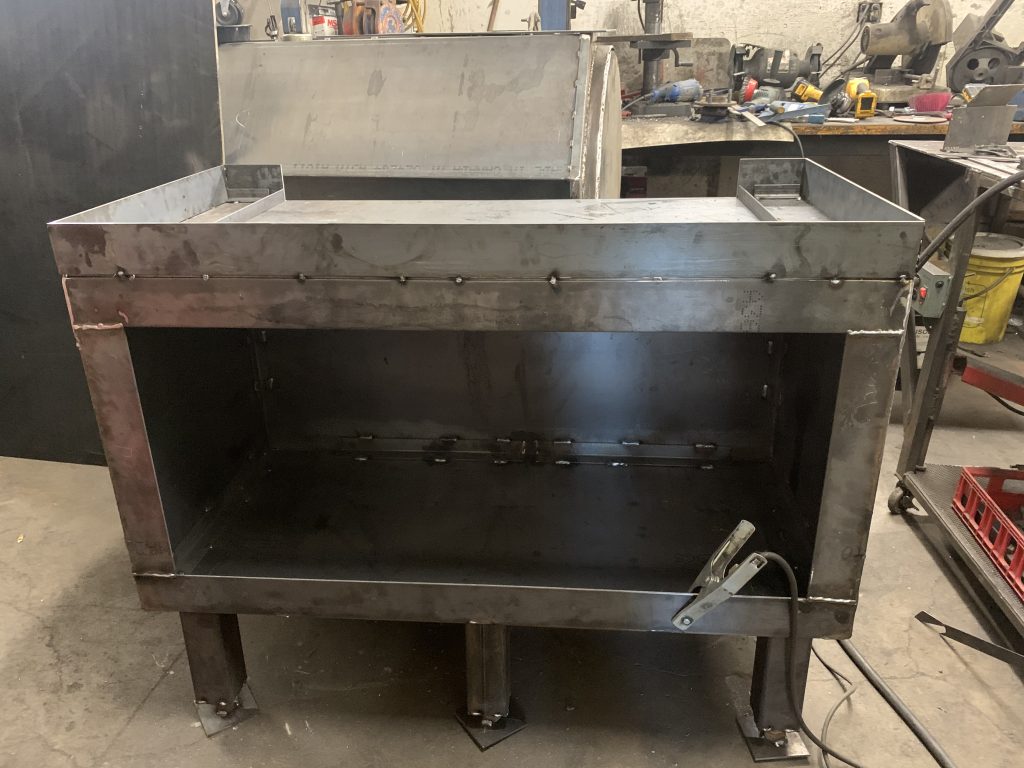
The 3″ lip is only tack welded for now another lip with be welded in after and the main hood of the pit will drop into place. 
Rear of the pit. The ash is attached to the a 3″ hidden door. 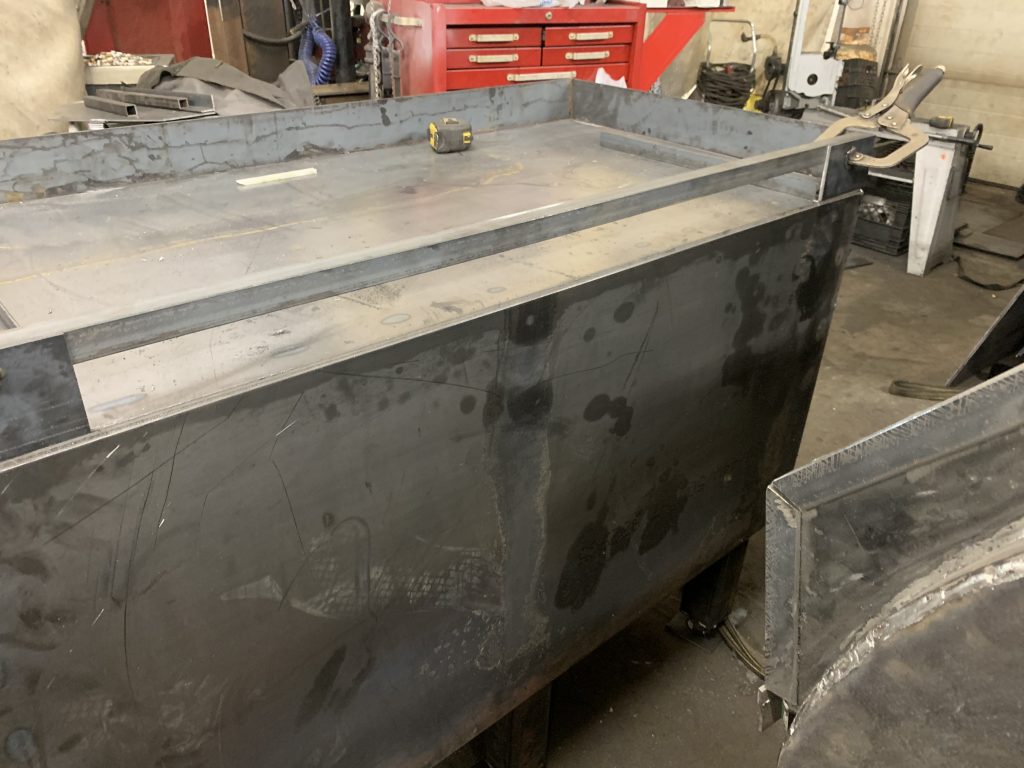
Angle Iron welded in place to stop the hidden door of the ash bin. 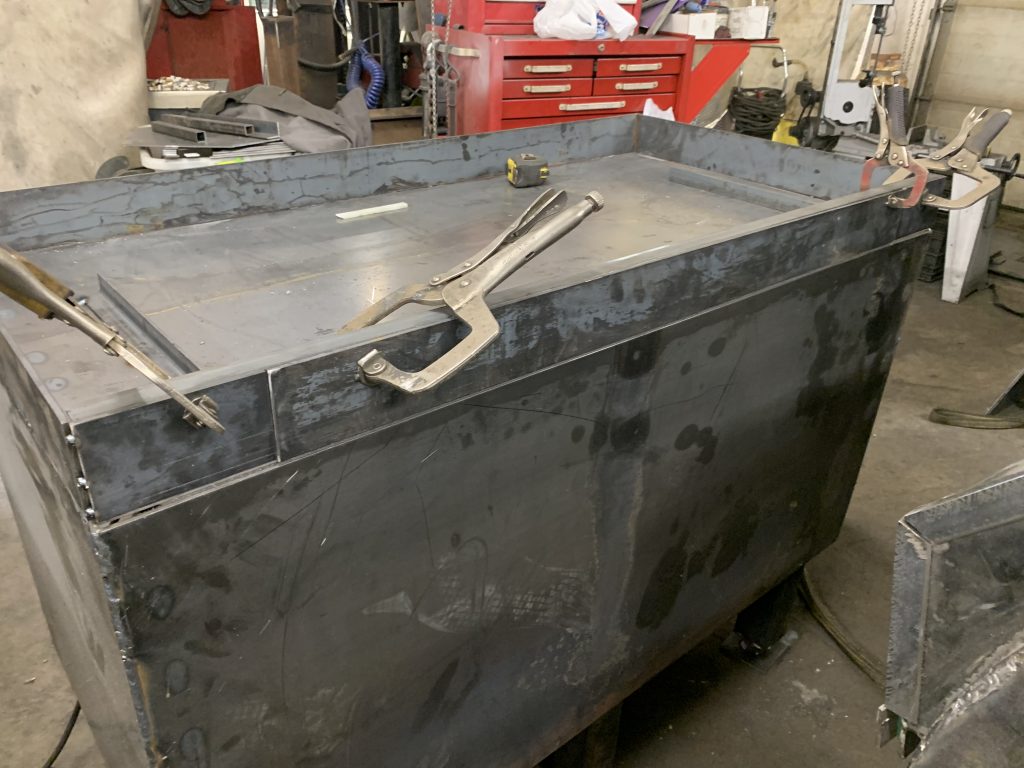
Hidden Door!
Tomorrow’s Goal!
I’m still waiting for the lower ash grate to come back from the CNC. I’m also waiting for the picture frames and mock up the name plate. But I really need the ash grate to continue. The ash grate is welded to the 3″ lip then the main hood is attached. I guess tomorrow I’ll blast off the smoker and wait to hear from the CNC guy. If all goes will I can deliver the lower Firewood Storage Box and the Main body can be drop into place once it’s done. I figure the smoker can be mechanically fastened to the main hood. Then it’s to the drawing table on enclosing the picture frames to create a draw for the smoker to work correctly. The idea is to use the main fire pit area for the smoker fire box and reverse flow to the smoker. Just need to figure out how to seal all the doors and main hood off so the smoker will draw that heat in to the smoker cabinet. Hmm, maybe?
Wednesday – Another Scorcher!
Less pictures today since progress was zero to start off but then when the ball started rolling I totally forgot to take pictures. There was a lot of back end work and planning that you just can’t take photo’s of. Had a C25 Gas issue as well. Gas was bleeding out the shut off valve and I focus on that F*ck up for awhile. C25 isn’t explosive but costly if it’s pissing out the valve. I had to cut the cord and pay up to get the fire log rack CNC out by using a water jet not plasma, Double the fun! Oh and double the cost!
Tacked in the binder bar for the two units 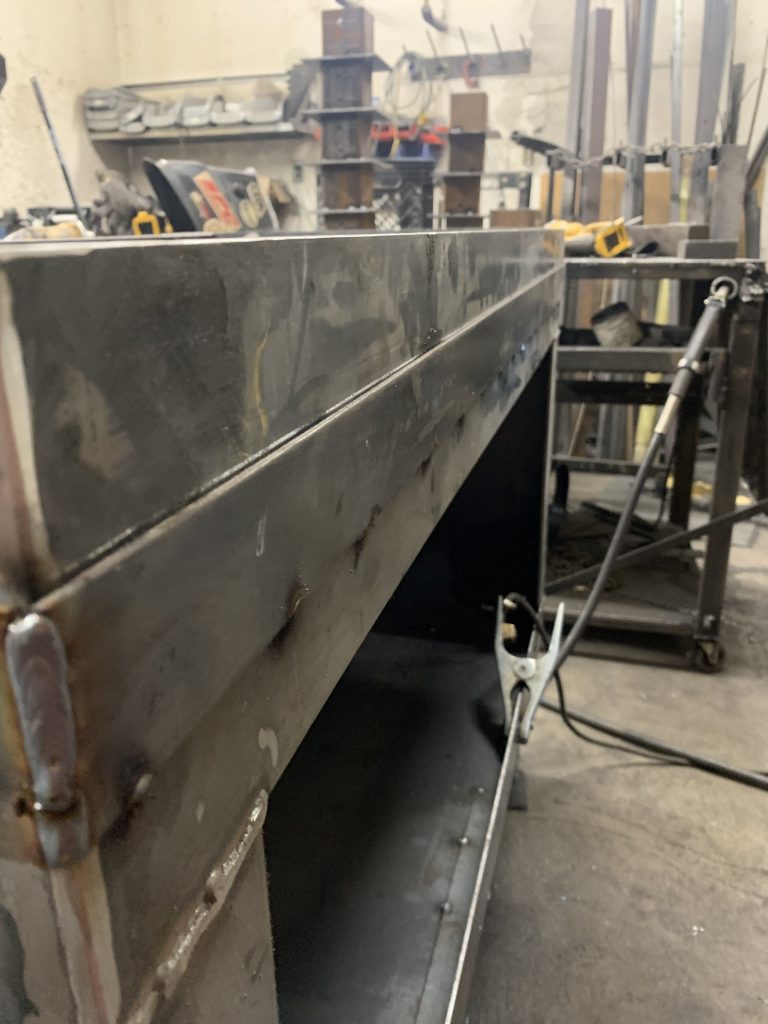
Long welds tomorrow 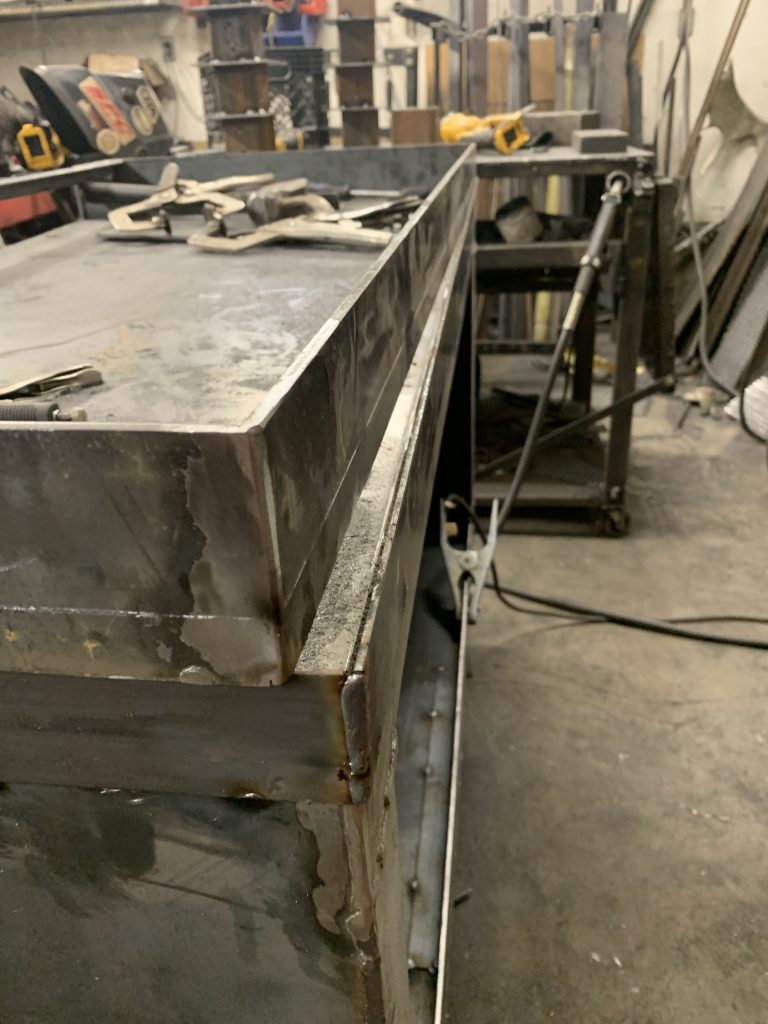
Showing the two pieces 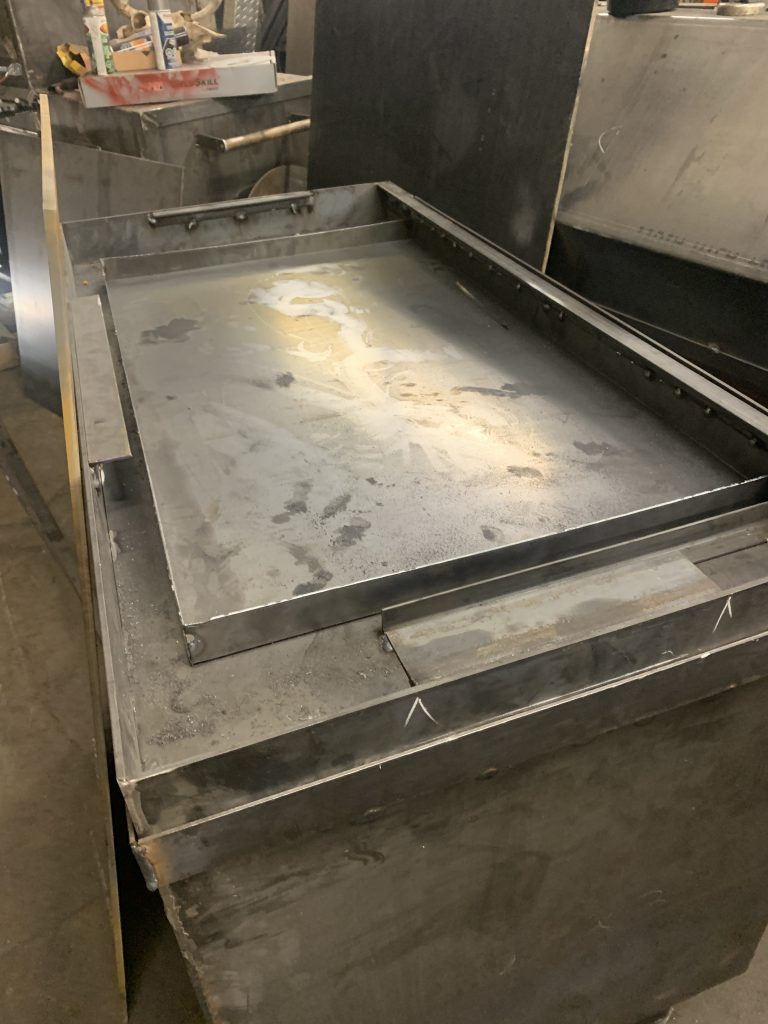
Ash pan built and in place with the hidden drawer. Also welded in the angle iron to support the 1/2″ CNC’d fire log rack 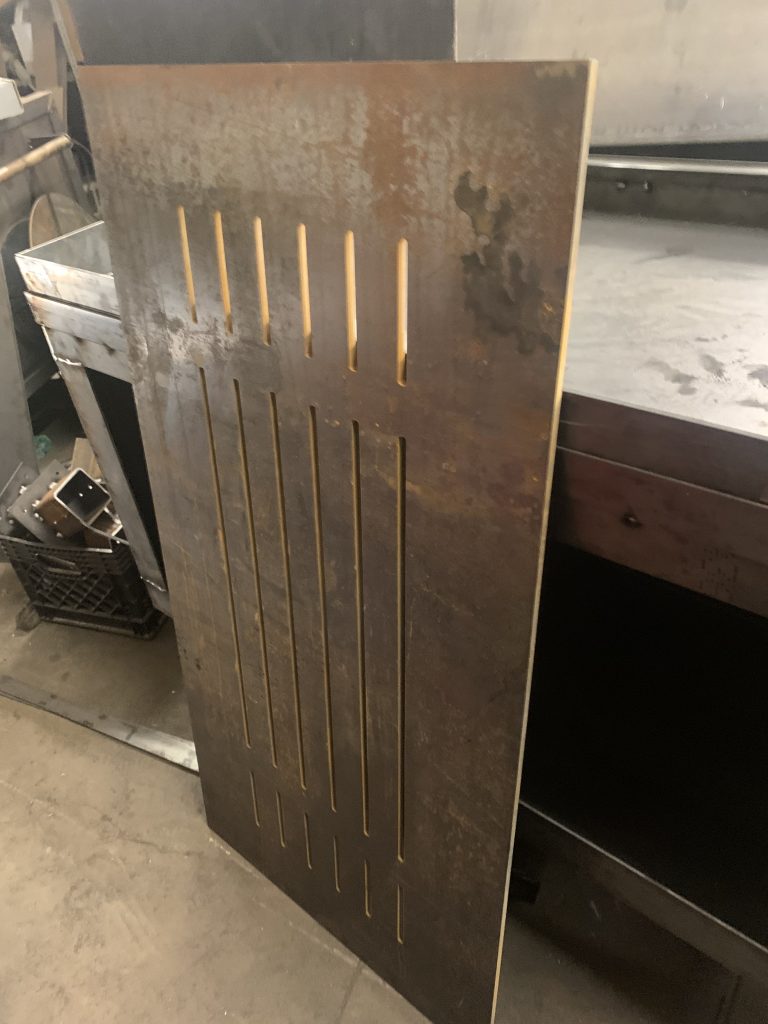
Fire Log Rack 168. lbs
I did take several video’s over the course of the day. I’ll upload those tomorrow. Sorry forgot the video at the shop……. Til tomorrow. Keep your dick beaters off my stuff!
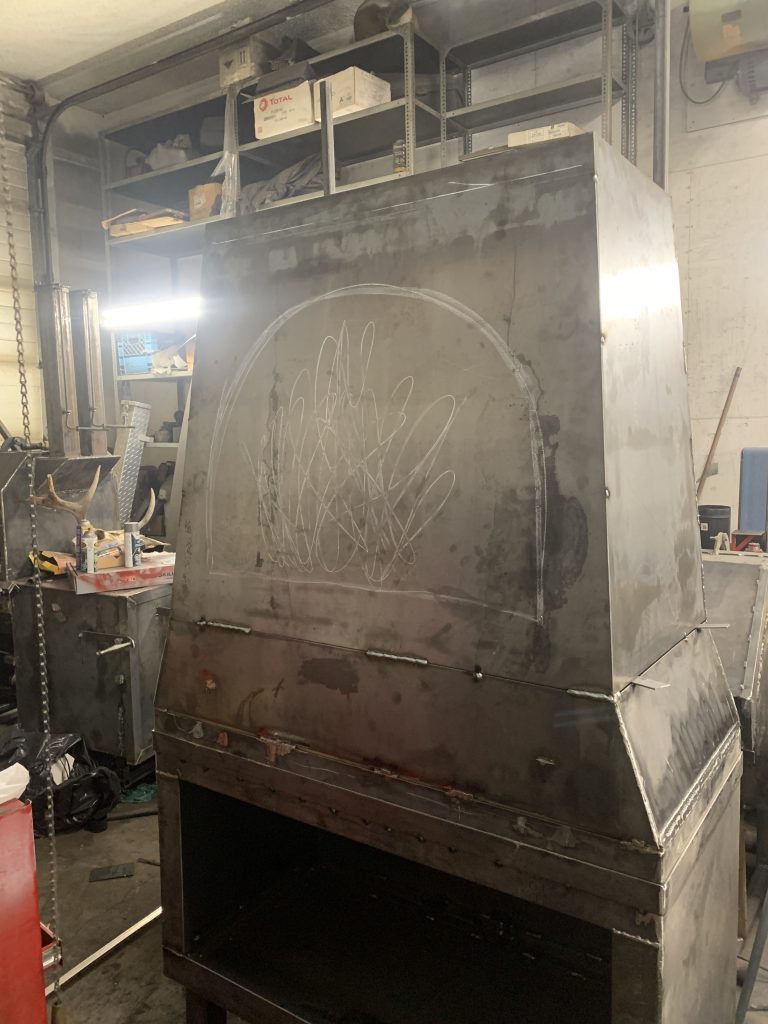
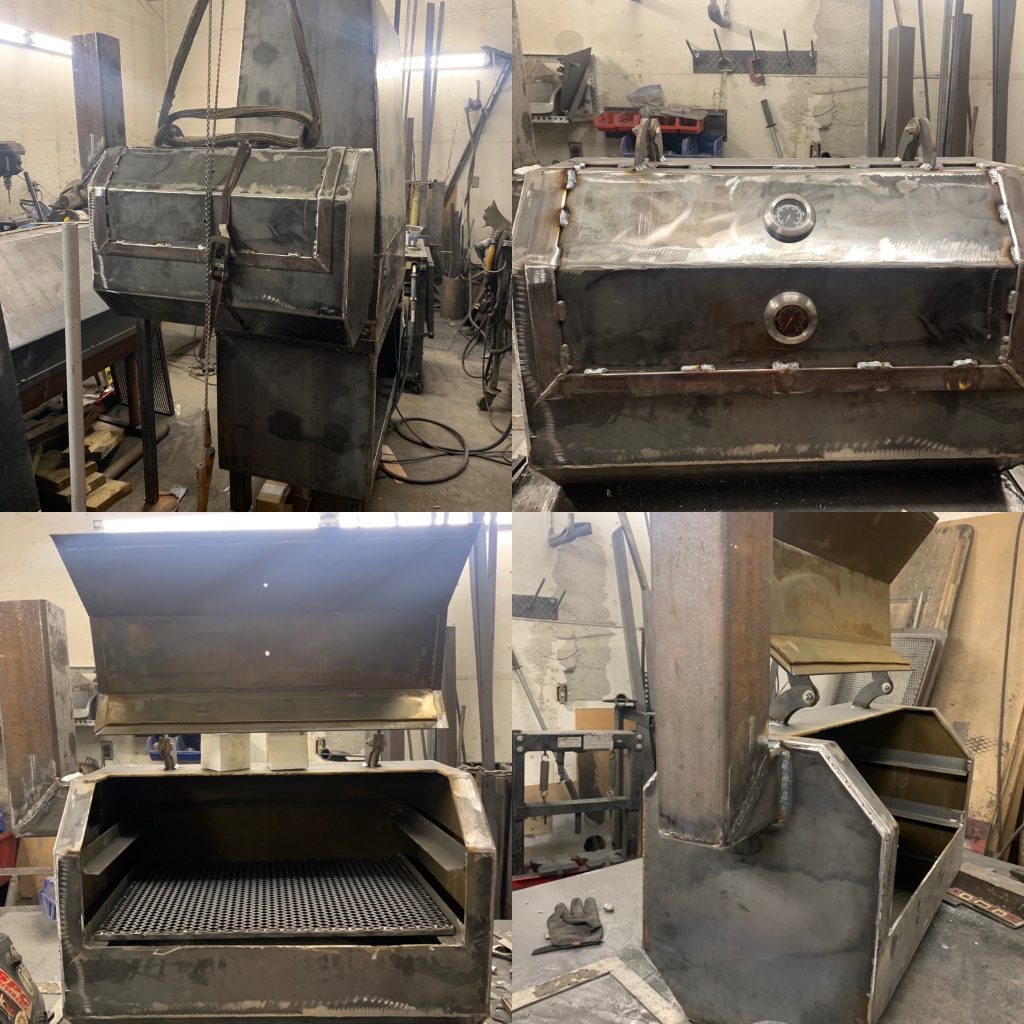
There’s a Hood!
Here’s some pic’s from today.
Ash Pan just cracked open 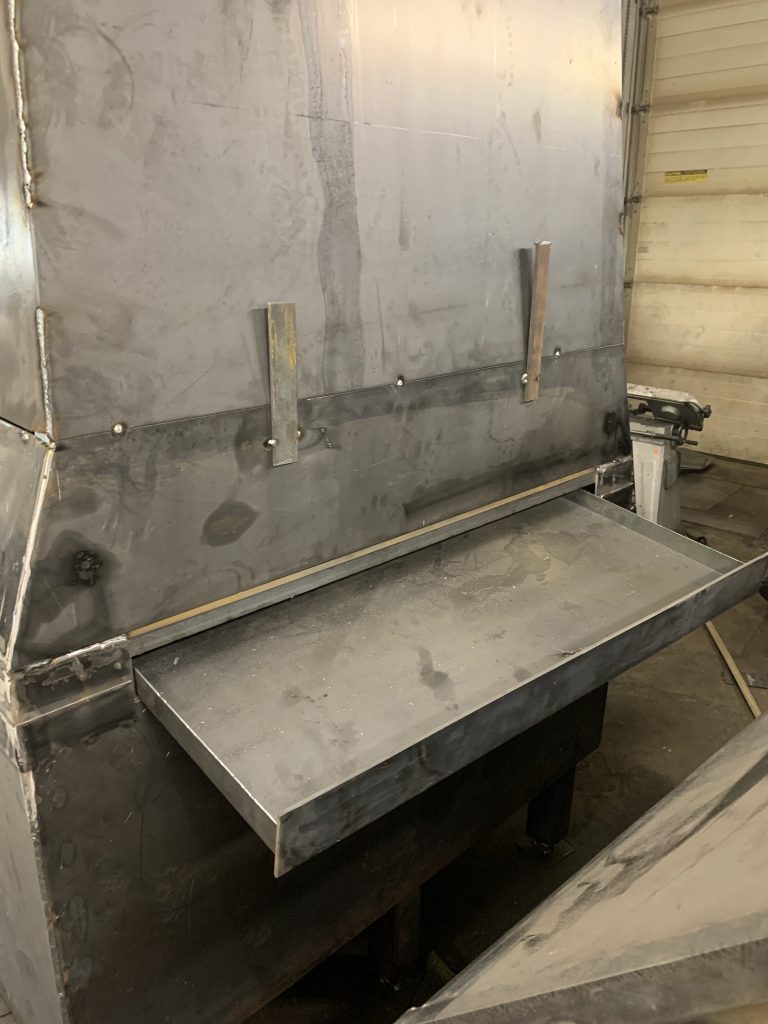
2/3rd cracked open 
Pretend Fire Window? 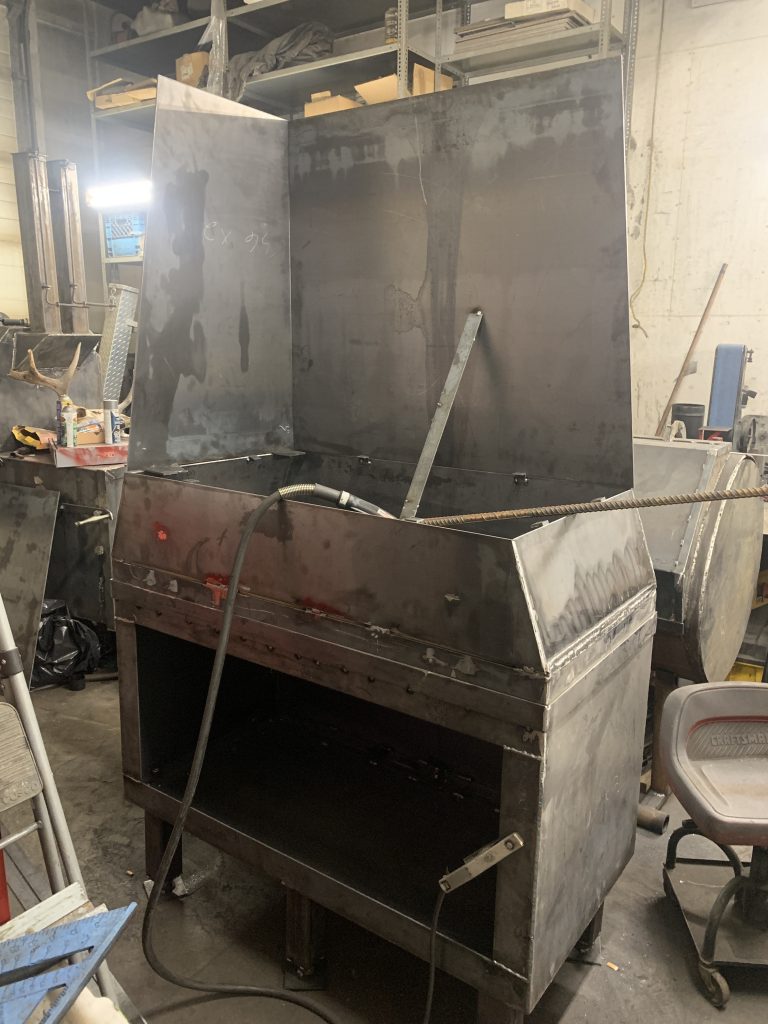
Just about forgot my tools inside before i sealed it up 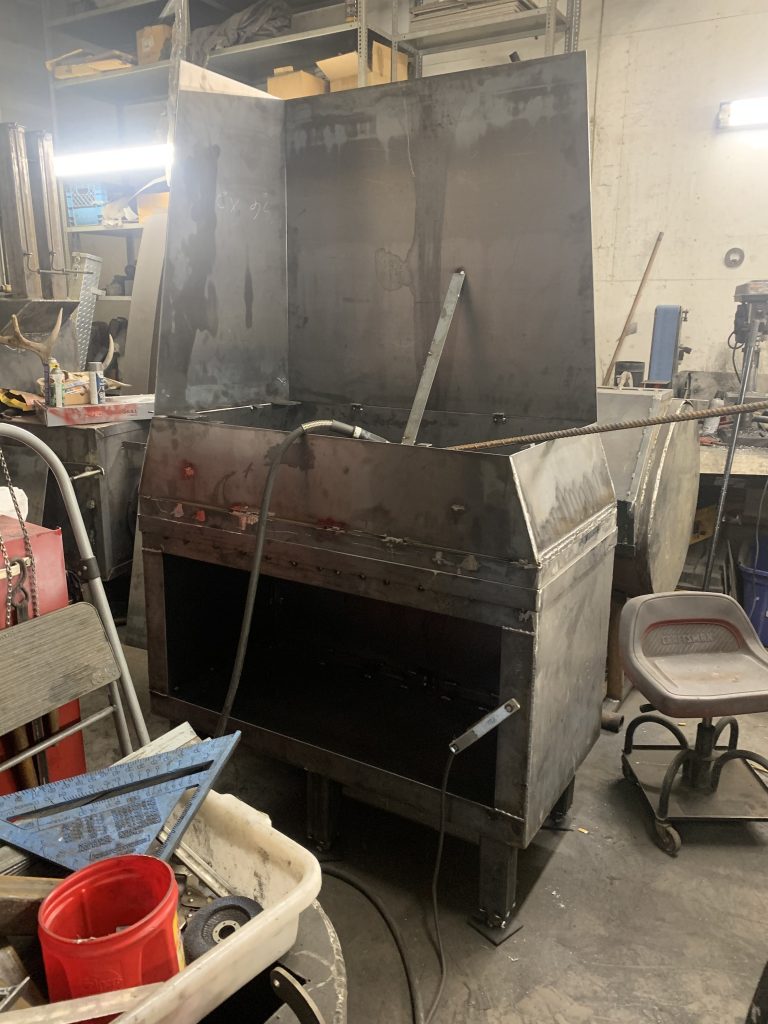
I took a few more pictures but I left them at the shop on my Ipad. Ill update after the weekend. Appearance wise not much has changed. A lot of back welding and that’s pretty boring. Once the main hood is welded in and i can separate the two pieces then the changes can be seen.
I’ve started the shell of the smoker but that’s pretty much all there. I’ve figured out the charcoal bin and how to trap the charcoal bins smoke, this way I’m not building doors and hood traps. Keep it simple stupid.
I’m still waiting for the plasma dyck to get back to me on the name plate and other detailed pieces for the picture frame.
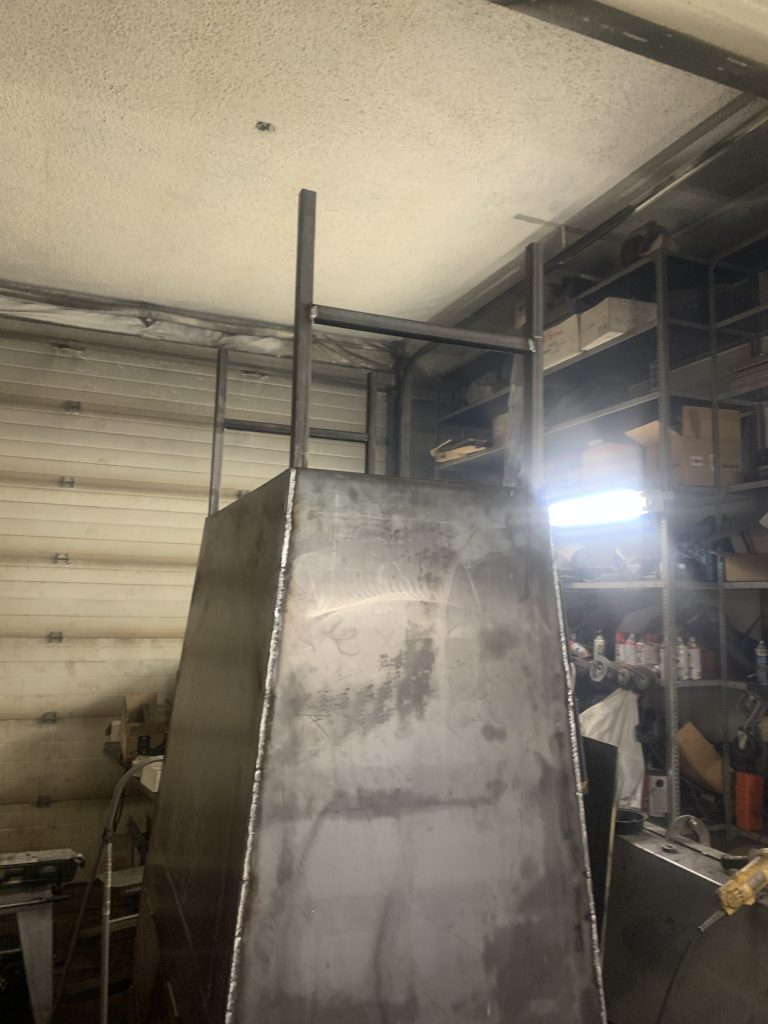
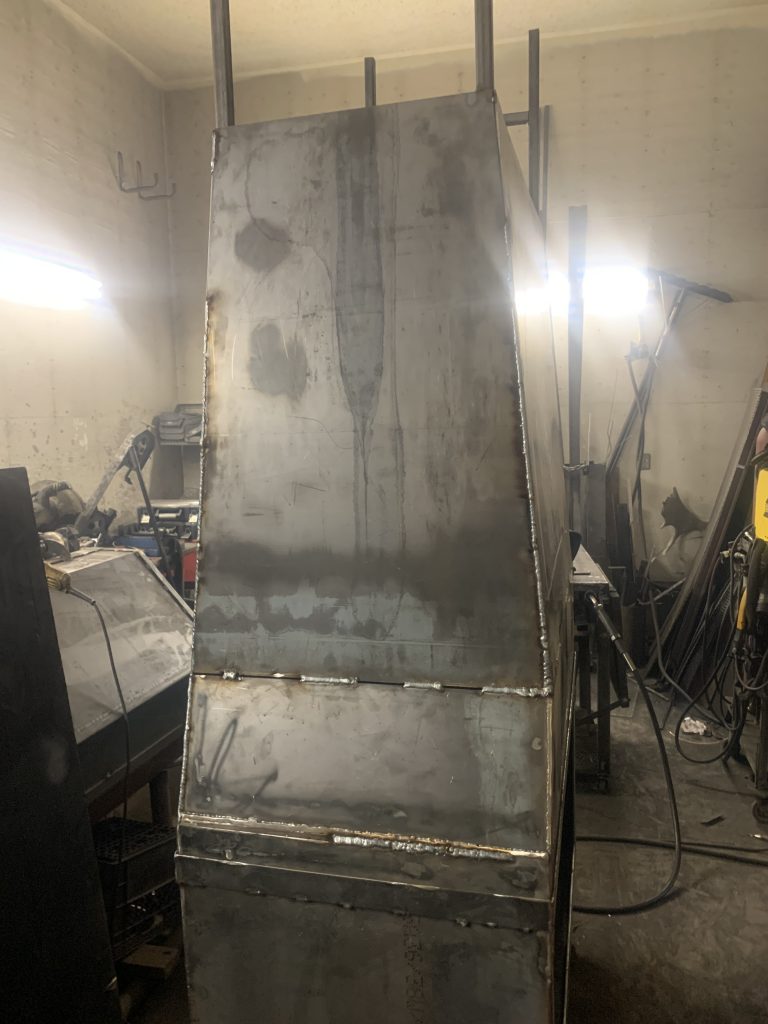
I figured this project would have been wrapped up by now but seeing the size of this pit I can understand why it’s not done yet. At over 8ft tall and a weight of 1100 lbs it’s a crazy grand project. I currently have 40 + hours into it and figured the whole project would have only been 40 hours. Oh well me and my bad estimating. Til tomorrow
My YouTube Channel will have the videos from today
Tuesday Smoker Cabinet
No this isn’t the smoker cabinet. However the main body of the pit will feed the smoker. Today on the main hood area, there was a lot of welding in main seams! 16 linear feet of main seams. I haven’t decided if I’ll leave the seams (wire wheeled of course) or grind them out. The rough look is way better! Clients text me or email me here thoughts.
Weld her up 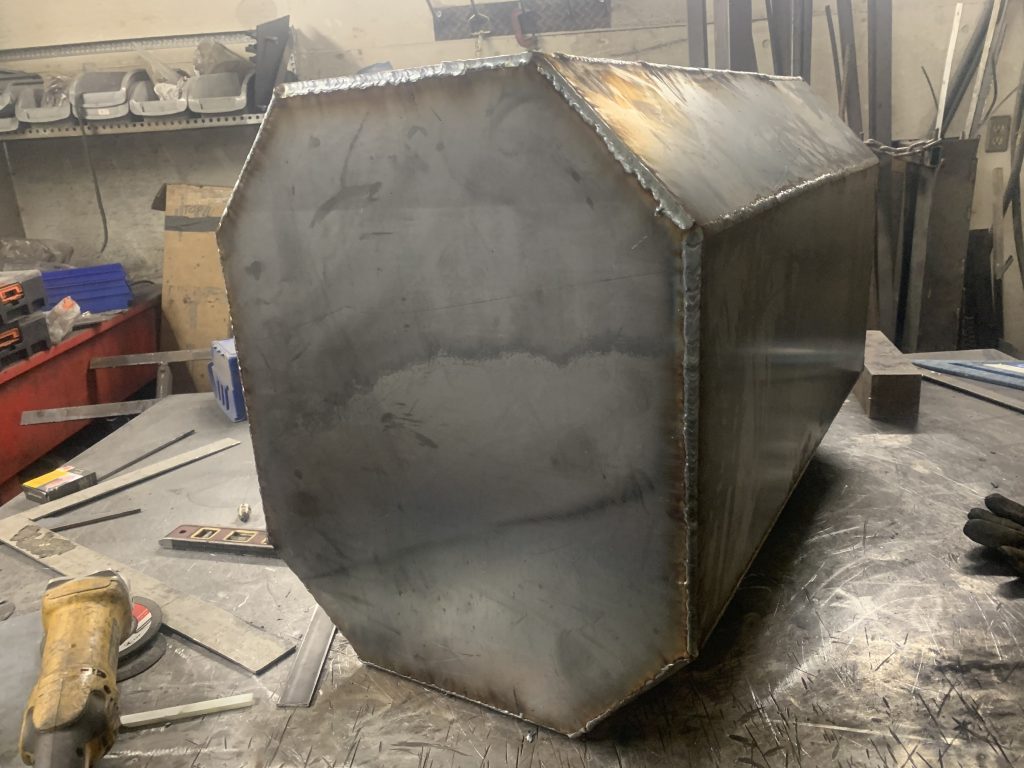
Smoker Cabinet weighs 110lbs 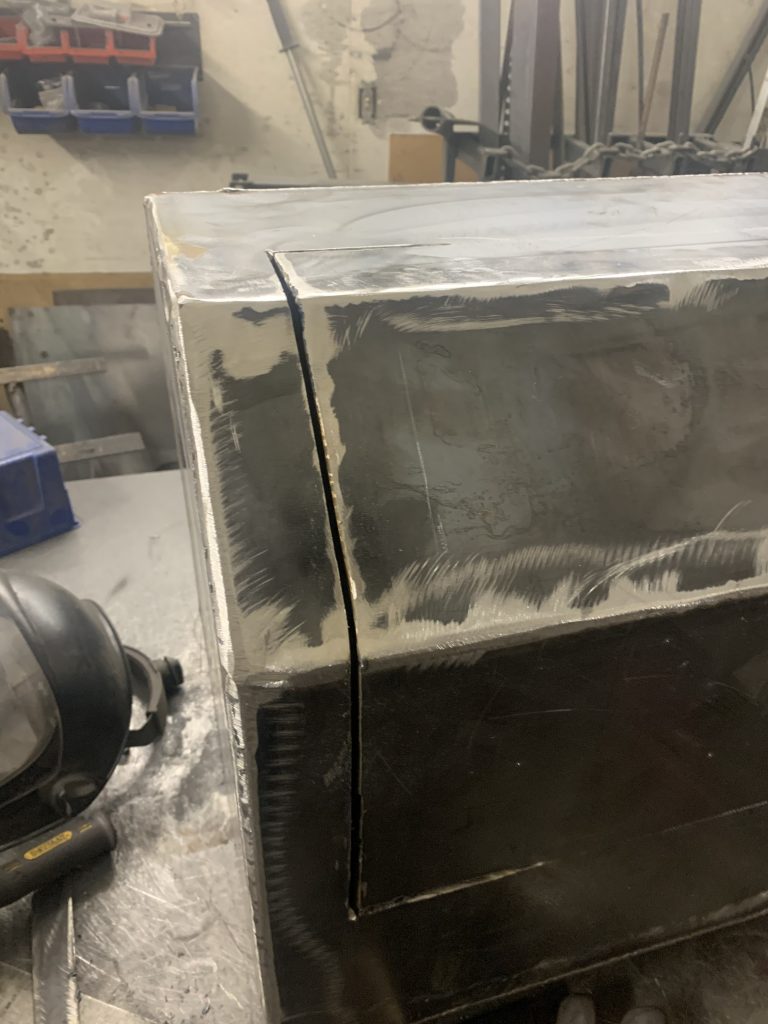
Plasma cut the door opening 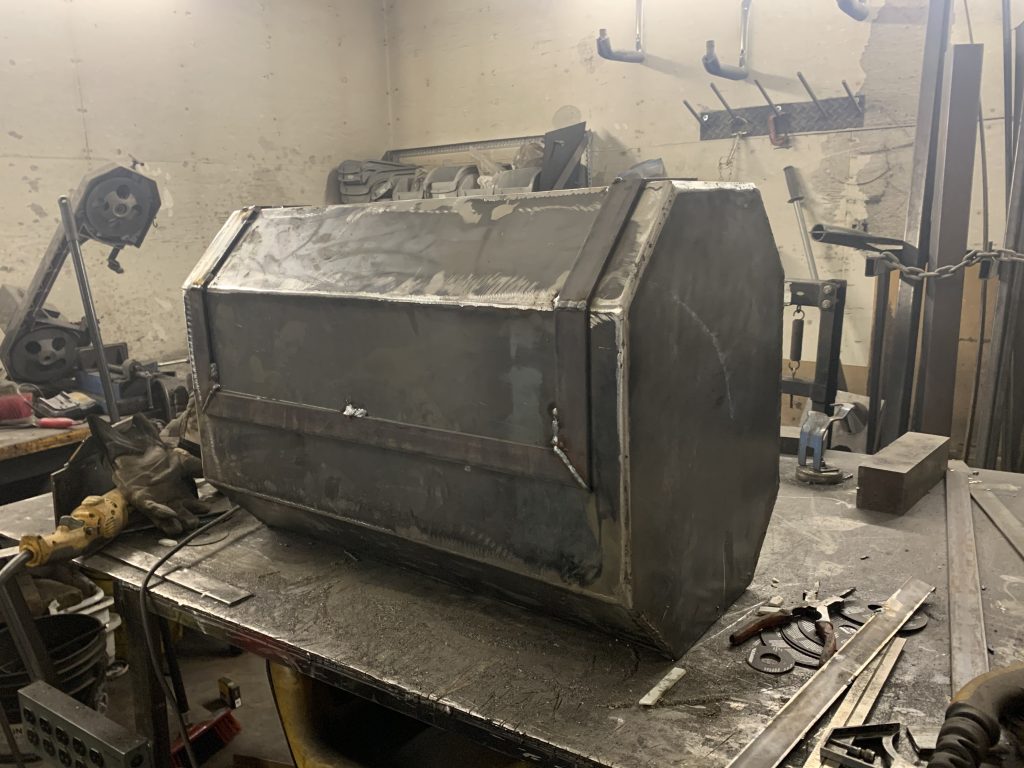
Trimmed out the door 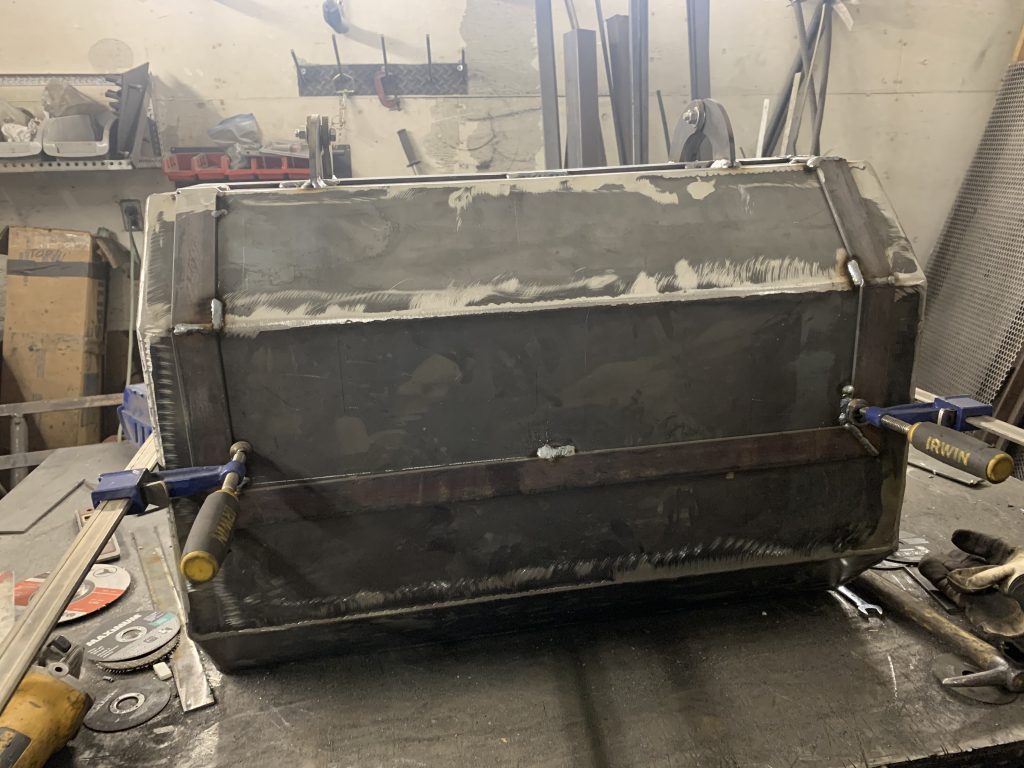
CNC Hinges 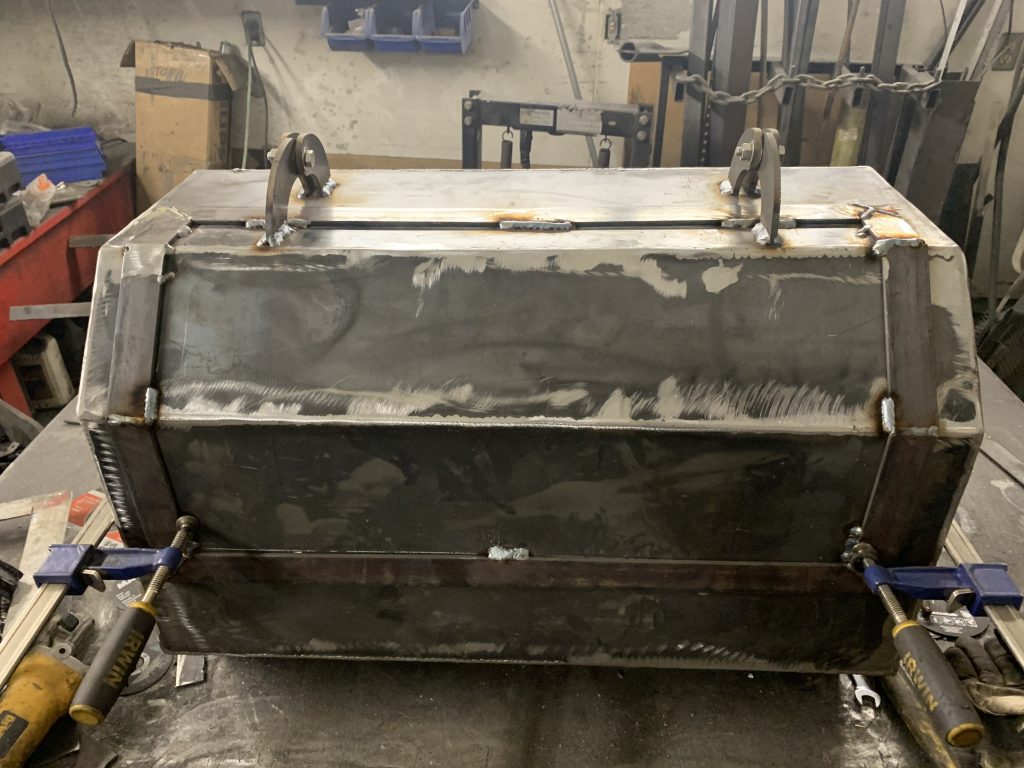
Just Tacked up for now 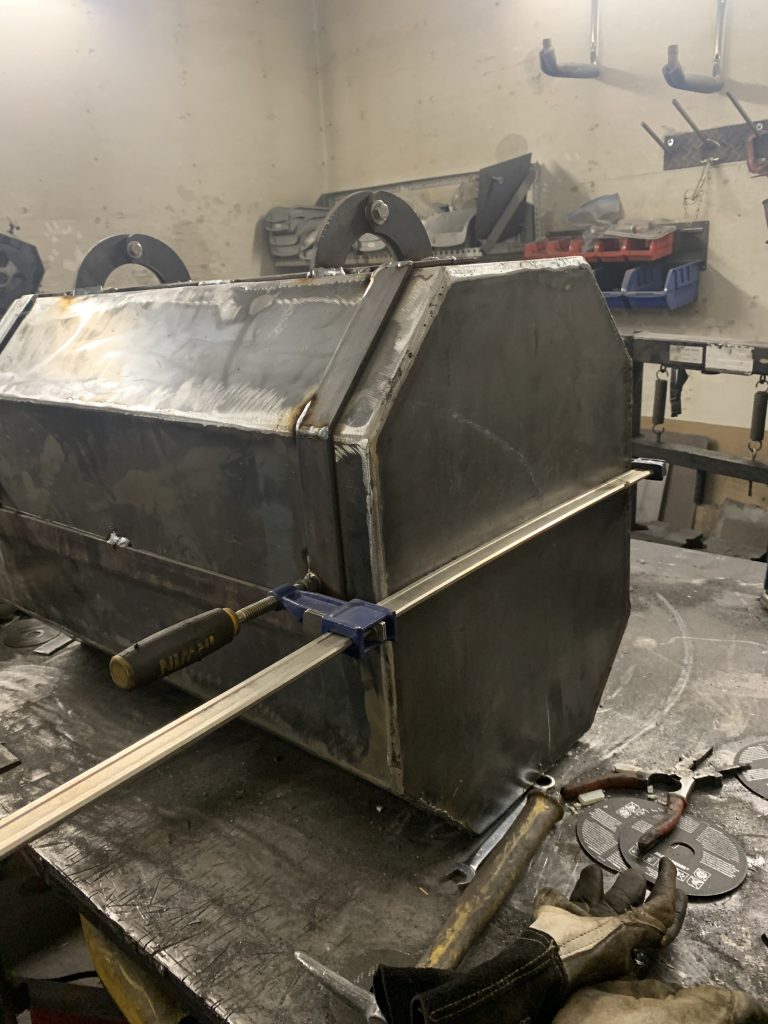
Clamped down due to heat. Don’t want it popping
Tomorrow I hope to hear from the Plasma guy and get proofs for the Name Plate and the Picture Frame, otherwise its back to CNC water jet.
Not much to report today
Basically did a lot of finish welding but i did get the smoker racks made, stack installed and the smoker is attached to the main hood
Huge Thanks to Stinger Fabrication
30 Oswald Dr, Spruce Grove, AB T7X 3B1
780-948-1600
They picked up where the other plasma Dyck Failed! Yet again!
Dropped off plans and drawings at another local Spruce Grove CNC Fab shop a WEEK AGO! And they still haven’t emailed me the finished drawings or a email back! So, Stinger came through within the hour! My items we’re off the table the same afternoon. And Michelle even added a few items that are going to make this project even better.